
How to schedule Instagram posts in 2026: protect reach and save time

If you manage social media for a growing brand, you already know that hitting publish by hand every day is a drain on your time. Here is how to schedule Instagram posts in short: switch to a professional account, choose a method (the scheduling option inside the Instagram app, Meta Business Suite, or a third-party instagram post scheduler), prepare your media in the right format, write the caption and tags, set the date and time, and stay around to answer comments once the post goes live. The rest of this guide walks through each of those steps in detail.
Many marketers still rely on phone alarms, downloading assets on the fly, and writing captions during their lunch break. This reactive approach leads to inconsistent posting, embarrassing typos, and creative burnout. When you manage social media like this, you are constantly in a state of content emergency. You lose sight of the bigger picture, and strategic campaigns fall by the wayside.
Choosing a random app is not enough on its own. You need a workflow that respects the technical limits of the platform, handles high-quality visual assets, and protects your engagement. By the end of this guide, you will understand how publishing through Meta's API differs from posting in the app, how to troubleshoot failed publishes, how to handle trending audio and Collab posts, and how to check that your schedule is actually working.
How to schedule Instagram posts: The core concepts
Scheduling Instagram posts means using built-in platform features or external software to prepare your images, videos, and captions in advance, and setting them to publish automatically at a chosen date and time. It is the foundation of modern social media management, letting creators and businesses keep a consistent presence without being tied to their phones all day.
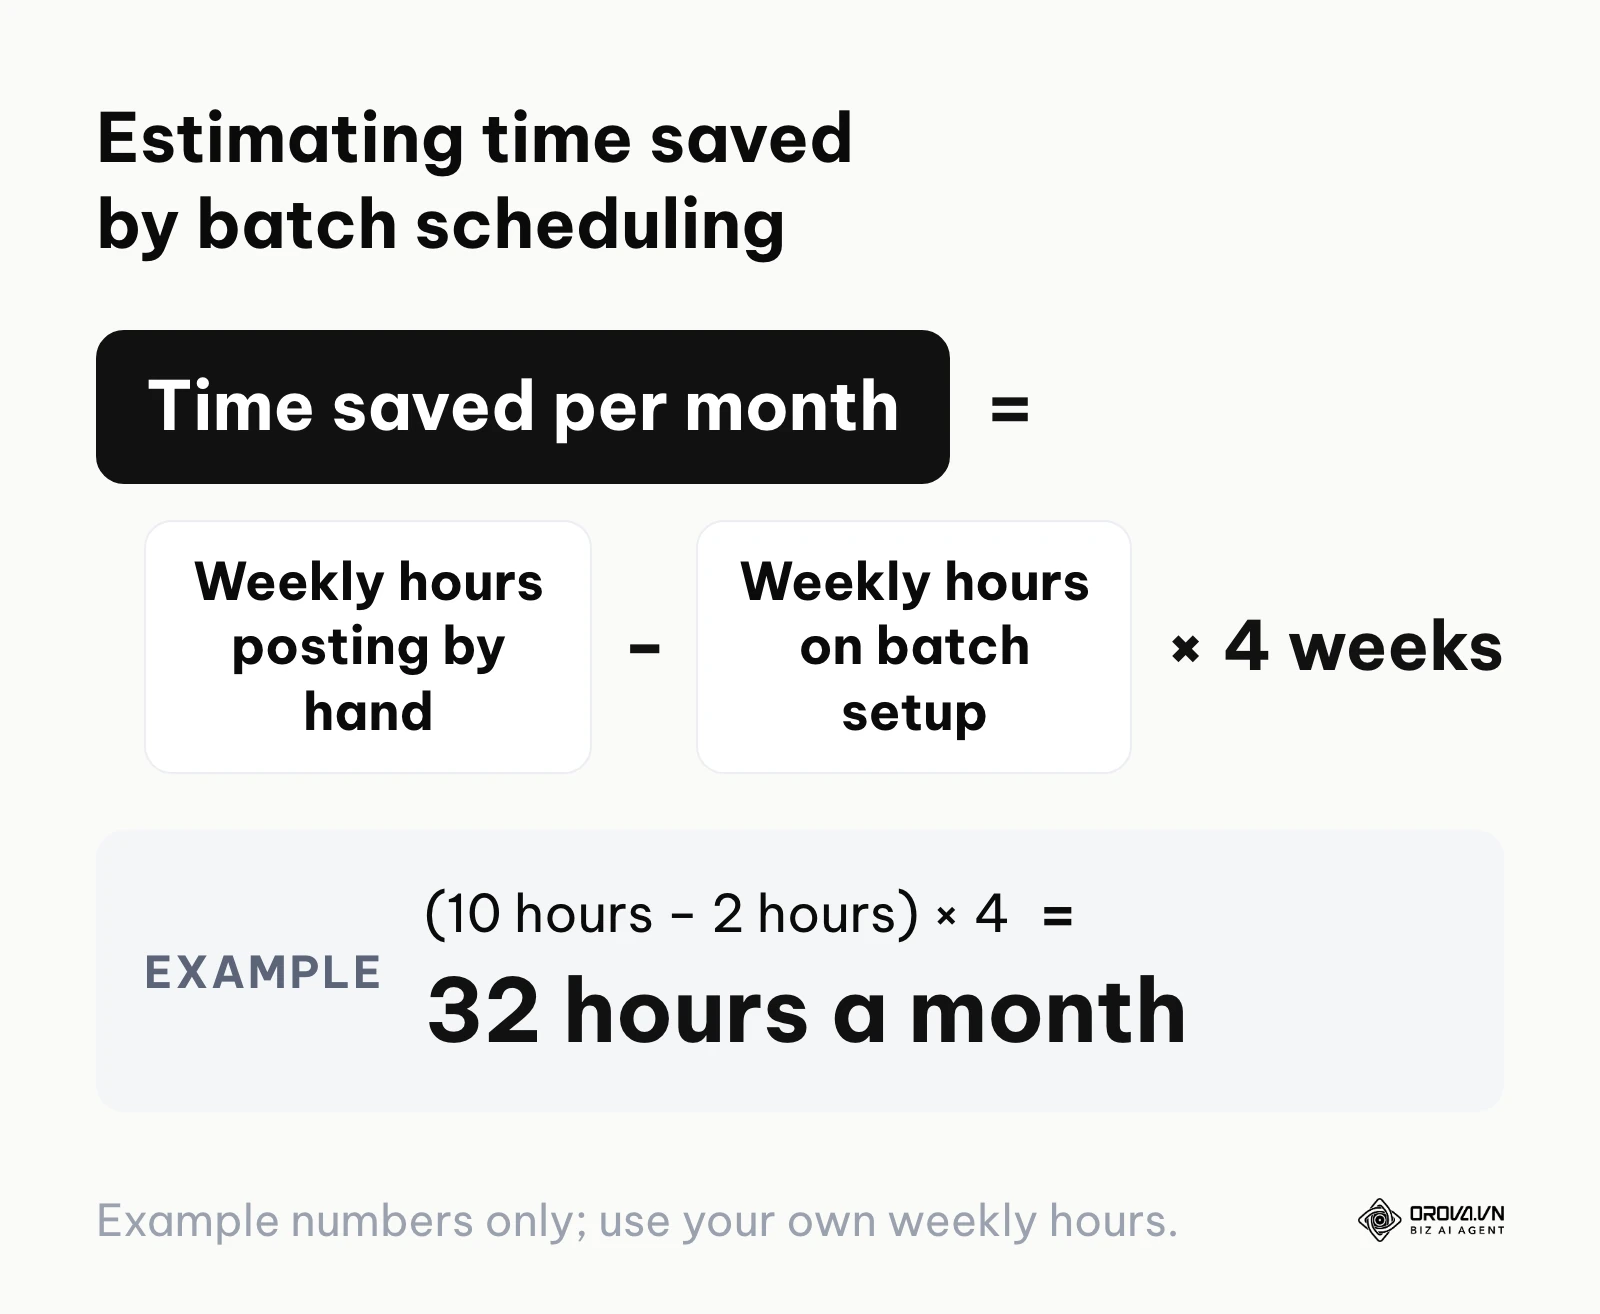
To understand scheduling, look at the idea of "content batching." Batching is a productivity technique where you group similar tasks together to avoid the cost of constant context switching. Instead of writing one caption, designing one graphic, and posting it immediately, you dedicate a Tuesday afternoon to writing 15 captions, a Wednesday morning to designing 15 graphics, and Thursday to scheduling all of them for the next two weeks. Scheduling is the final mechanism that makes batching possible.
A quick way to estimate the payoff is a simple formula: time saved per month = (weekly hours spent posting manually − weekly hours spent on a batch setup) × 4 weeks. For example, if posting by hand takes 10 hours a week and a batch session takes 2 hours, the result is (10 hours − 2 hours) × 4 = 32 hours a month. Use your own numbers; the point is to see whether batching is worth it for your account.
This approach suits marketing teams, solo entrepreneurs, and creators who need to balance content production with other work. By batch-creating and queuing content, your audience gets a steady stream of posts during their most active hours, regardless of your personal schedule. Many marketers also believe a predictable cadence helps, because followers learn when to expect new posts.
However, scheduling is not a good fit for highly reactive accounts. If your brand relies on breaking news, live event coverage, or crisis communication, leaning heavily on an automated queue can make you look disconnected or tone-deaf. If a major news event happens and your account automatically publishes a cheerful meme, the backlash can be severe. Mastering scheduling means knowing what to automate (evergreen content, educational posts, product launches) and what to keep manual (community responses, trend-jacking, live updates).
Preparation: What you need before scheduling
Before you start loading a calendar with content, make sure your account setup is right. Instagram limits automated publishing based on your account type and Meta's security rules. If you skip these requirements, your software will simply refuse to connect.
Personal profiles cannot be connected to third-party publishing tools. Professional accounts (Business or Creator) can, although which account types a tool supports, and whether it asks you to link a Facebook Page, depends on how that tool connects to Meta. To get the most from an instagram post scheduler, switch to a professional account first and link a Facebook Page if your tool asks for one.
The preparation phase is critical. If your foundation is weak, your scheduled posts will fail to publish, and you will spend more time troubleshooting than creating.
| Item needed | Where to source it | Estimated setup time | Why it matters |
|---|---|---|---|
| Instagram professional account | Instagram app settings, under account type and tools | 5 minutes | Lets approved tools publish on your behalf. |
| Linked Facebook Page (if your tool requires it) | Meta Business Suite or Facebook Page settings | 10 minutes | Some connection methods authenticate through a Page. |
| High-resolution assets | Your camera roll, Canva, or cloud storage | Varies by campaign | Starting with high-res files reduces visible compression. |
| Brand voice guidelines | Internal company documents | 1 to 2 hours | Keeps a batch of captions written in one sitting consistent. |
| Meta Business Suite access | business.facebook.com | 15 minutes | Central place to manage your Meta account permissions. |
| Organized content library | Google Drive, Dropbox, Notion | 2 to 3 hours | Avoids hunting for scattered files while scheduling. |
Setting up your content library before scheduling is a step many people skip, and it causes a lot of frustration. Use a dedicated folder structure that separates raw footage, finished graphics, approved copy, and rejected ideas. Then, when you open your scheduling software, your only task is to drag, drop, and set the date.
Illustrative example:
- Context: A local coffee roaster expanding to three locations needed to manage its social profiles without hiring a full-time social media manager.
- Steps taken: The owners converted their personal profile to a Business account, linked it to a new Facebook Page for their main store, and then tried to connect an external scheduling tool for daily updates.
- Hurdles and fixes: The switch reshuffled their workflow, so they first reviewed their past posts and noted which captions had performed best. They also found that their Facebook Page lacked admin permissions, which blocked the tool's connection. They fixed the permissions in Meta's business settings.
- Result: A connected professional profile that let their small team schedule a month of content in a single afternoon, without losing track of what had worked before.
6 steps to schedule Instagram posts effectively
Scheduling well takes a systematic approach. If you follow these steps, you will reduce API errors, avoid formatting glitches, and make sure your content looks as intended when it goes live. This is less about clicking buttons and more about building a dependable quality check.
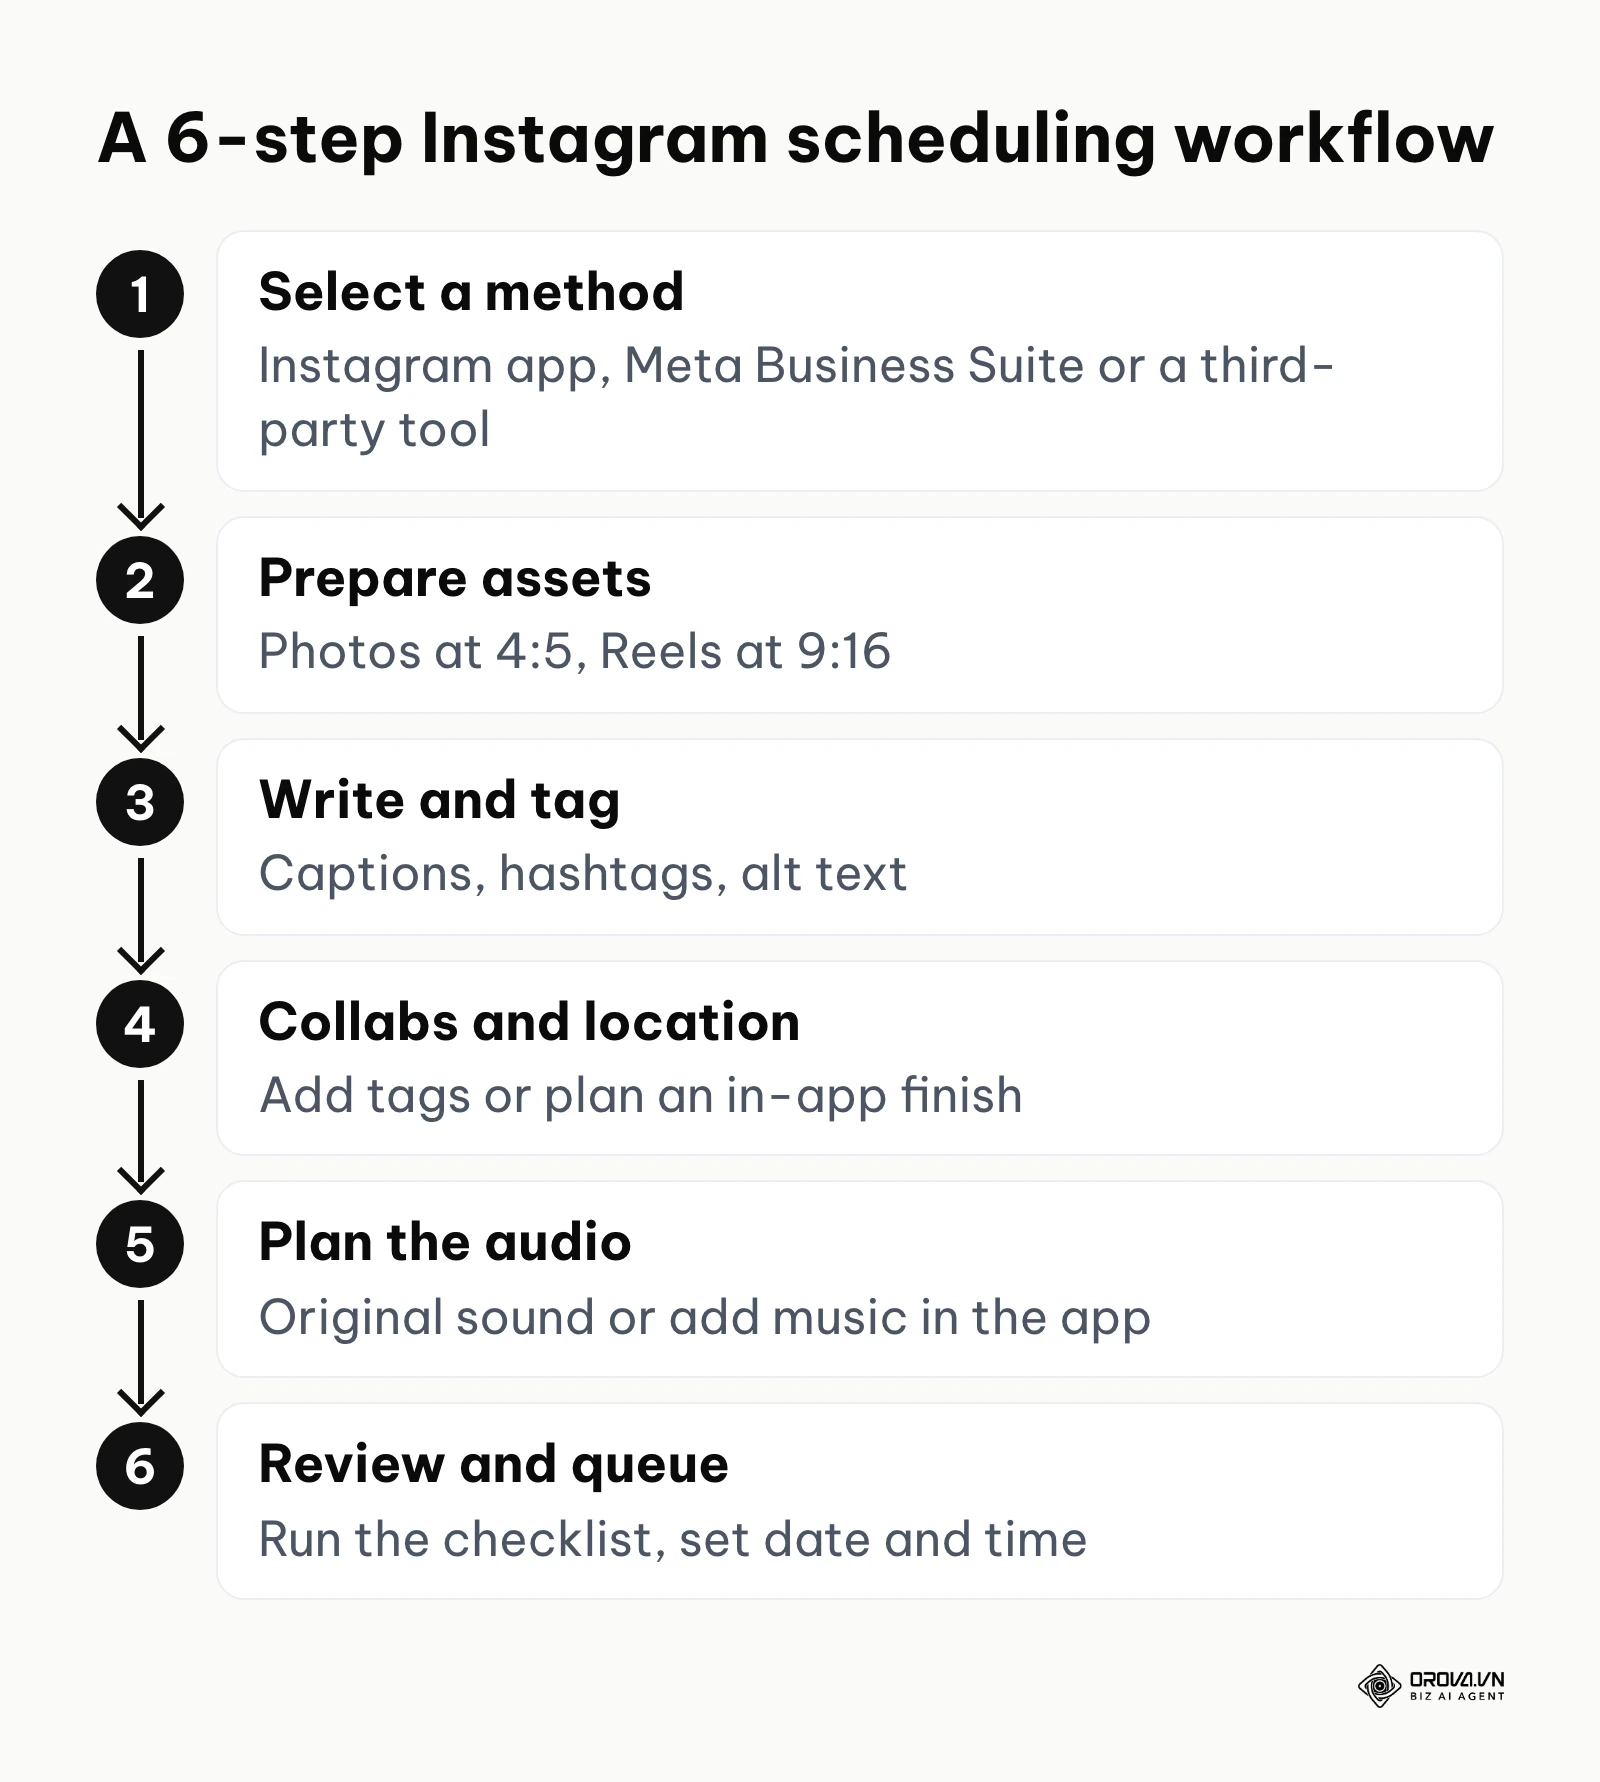
Step 1: Selecting the right Instagram post scheduler
Your first task is choosing where your content queue will live. You generally have three options, each with its own advantages and limits.
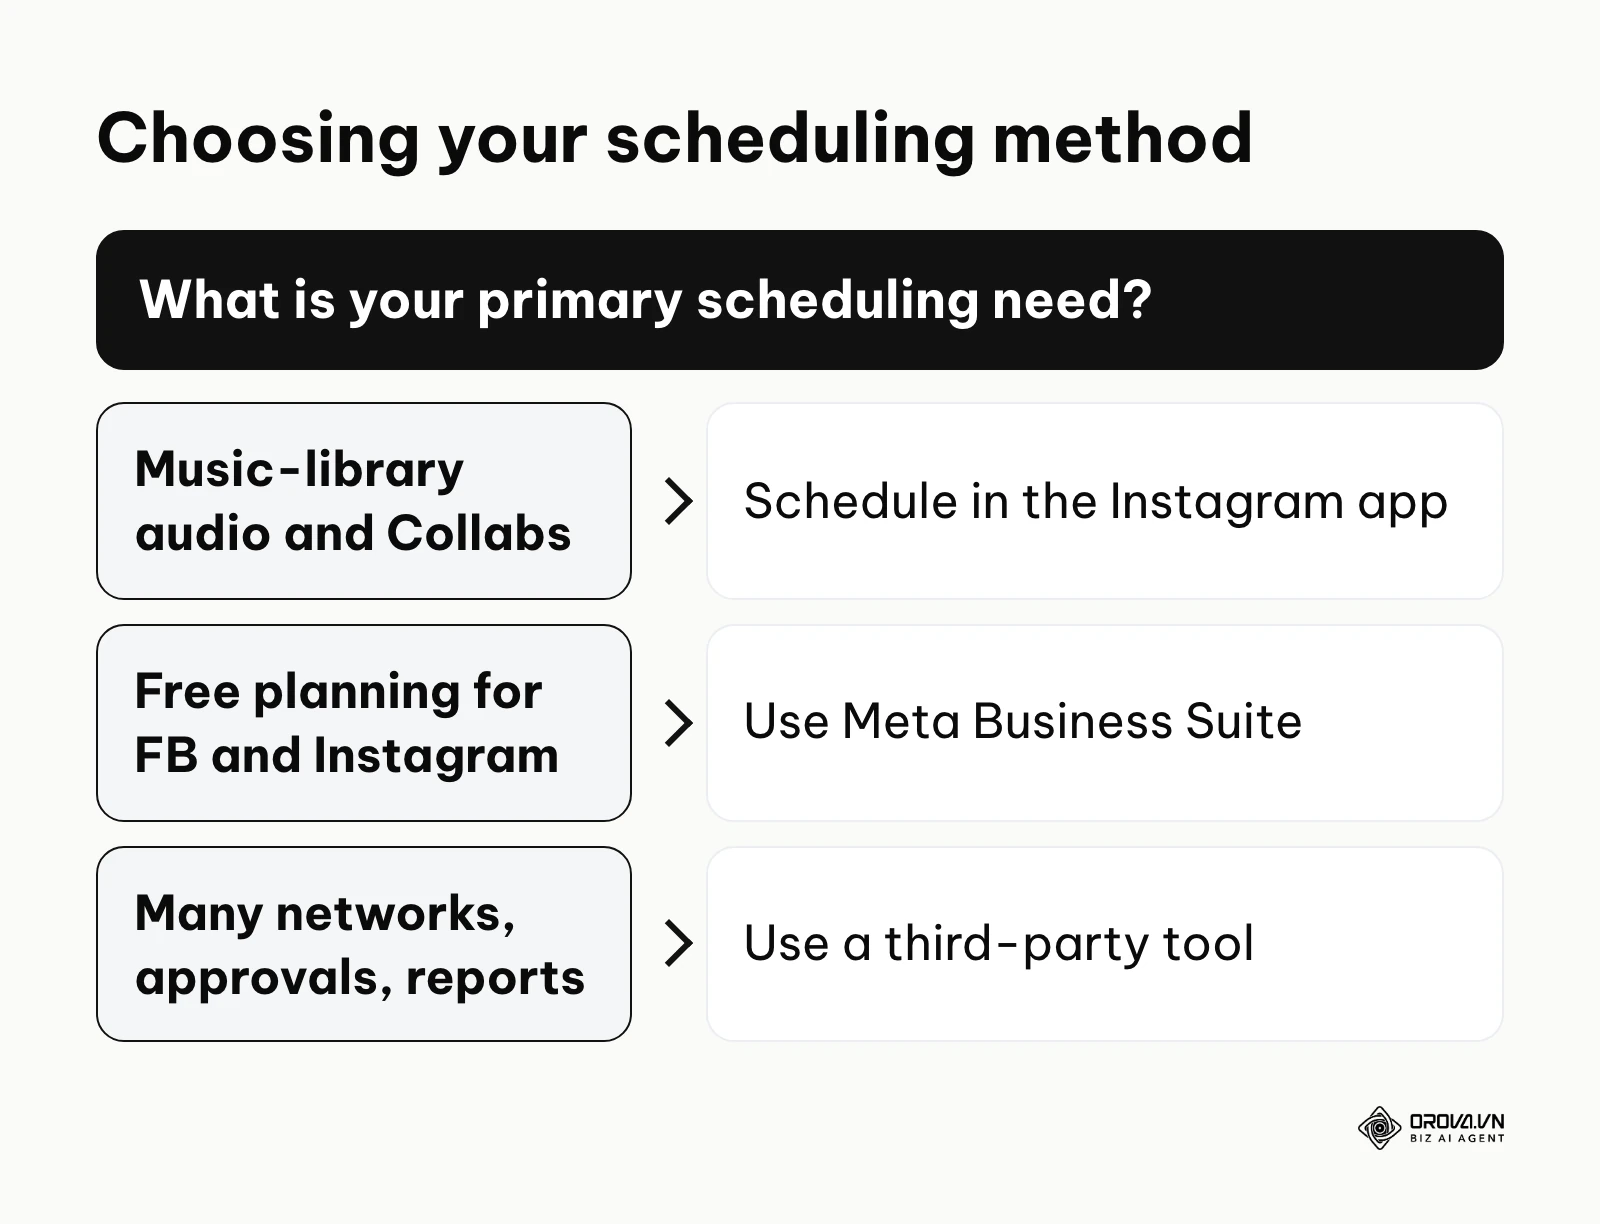
The Instagram app itself lets you schedule a feed post or Reel ahead of time from the advanced settings before you share it. How far ahead you can schedule, and which formats are included, can change, so check the current options in your app. This route keeps app-only features such as the music library close at hand, but it offers no calendar overview and is tedious for high-volume accounts.
Meta Business Suite is Meta's free desktop and mobile alternative. It offers a calendar view, basic insights, and the ability to schedule to both Facebook and Instagram in one go. Its main limitation is scope: it covers Meta's own platforms only.
Finally, third-party tools connect through Meta's official API. Well-known examples include Later, Buffer, Planoly, Metricool and Hootsuite. These tools let you manage several platforms (such as LinkedIn, TikTok, X and Pinterest) at once, collaborate through approval workflows, and generate reports. If you want a side-by-side look at the options, see our social media scheduler comparison. Your choice depends on your budget, team size, and whether you value app-only features over multi-channel management. When evaluating a tool, check that it publishes through Meta's official API rather than asking for your Instagram password.
Step 2: Formatting visual content and reels
API publishing is strict about media formats. When you post manually, the app compresses and crops your files for you. When you schedule through a tool, the software often relies on your files being prepared correctly. If a file does not meet the specifications, the scheduler may reject it or publish a distorted, pixelated version.
For static photos and carousels, a 4:5 aspect ratio (1080 x 1350 pixels) is the common choice. This vertical format takes up more screen space on mobile than a square. A 1:1 square (1080 x 1080) is fine, but you give up vertical space.
When considering how to schedule Instagram Reels, export your videos in a 9:16 aspect ratio (1080 x 1920 pixels). The API sets its own limits on file size and video length, and those limits change, so check your tool's current specifications before exporting. Use the H.264 codec, a standard 30fps or 60fps frame rate, and AAC audio. Exporting in Apple ProRes or using unusual audio codecs can trigger processing timeouts during automated publishing, leaving your post stuck as "failed to publish."
Step 3: Writing captions and tags
Once your assets are in the queue, write the text that goes with them. Instagram captions have a character limit, and the feed cuts long captions off after the first line or two with a "more" link. Put your strongest hook in those opening words. If your first sentence does not spark curiosity or state a clear benefit, the rest of the caption may never be read.
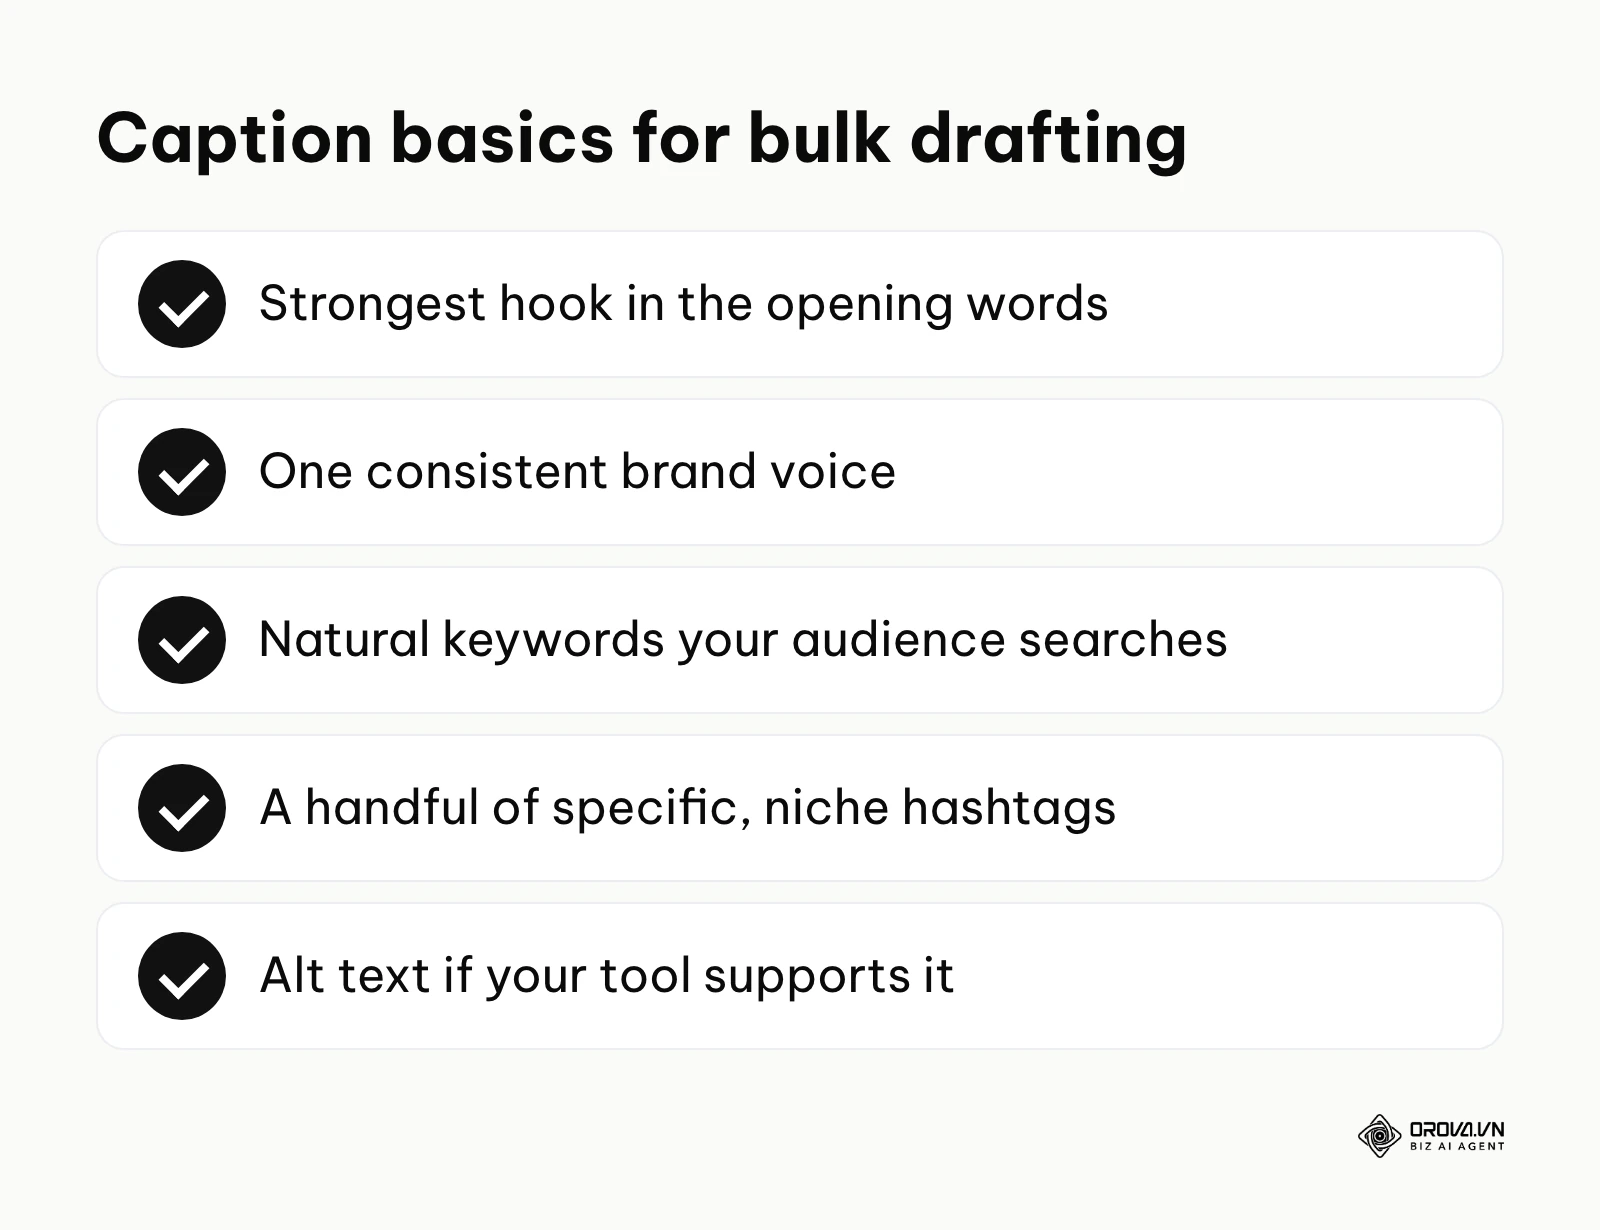
When drafting in bulk, it is easy to sound repetitive and robotic. A written brand tone of voice guide keeps 15 captions written in one sitting sounding like the same brand. Include natural keywords and phrases your audience actually searches for, since Instagram search can read caption text too.
Instagram has tightened how many hashtags a post can carry, and in any case a handful of specific, niche tags tends to work better than a wall of broad tags like #love or #business. Many scheduling tools offer a saved hashtag group feature, so you can insert researched tag sets with one click. Finally, write descriptive alt text for your images if your tool supports it. This helps visually impaired users and gives Instagram more context about your image.
Step 4: Adding collaborators and location data
Adding context to your posts helps discovery and engagement. Location tags matter most for brick-and-mortar local businesses, and many tools let you add a location when you schedule a post.
Instagram Collab posts are a sticking point. Support for adding collaborators through third-party tools has been patchy and varies from tool to tool. If you simply @mention the other account in the caption, the post will not become a co-authored Collab post.
If your tool cannot add collaborators, either schedule that post in the Instagram app or use the tool's notification publishing option. With this workaround, you plan the post on your calendar. At the scheduled time, the app sends a reminder to your phone with the media and caption ready, so you can publish manually and add the Collab tag in Instagram within seconds.
Step 5: Setting up trending audio for scheduled Reels
Audio drives Reels, but it is also the biggest friction point in automation. Third-party tools generally cannot attach tracks from Instagram's music library to a Reel, because that licensed music is tied to the app itself.
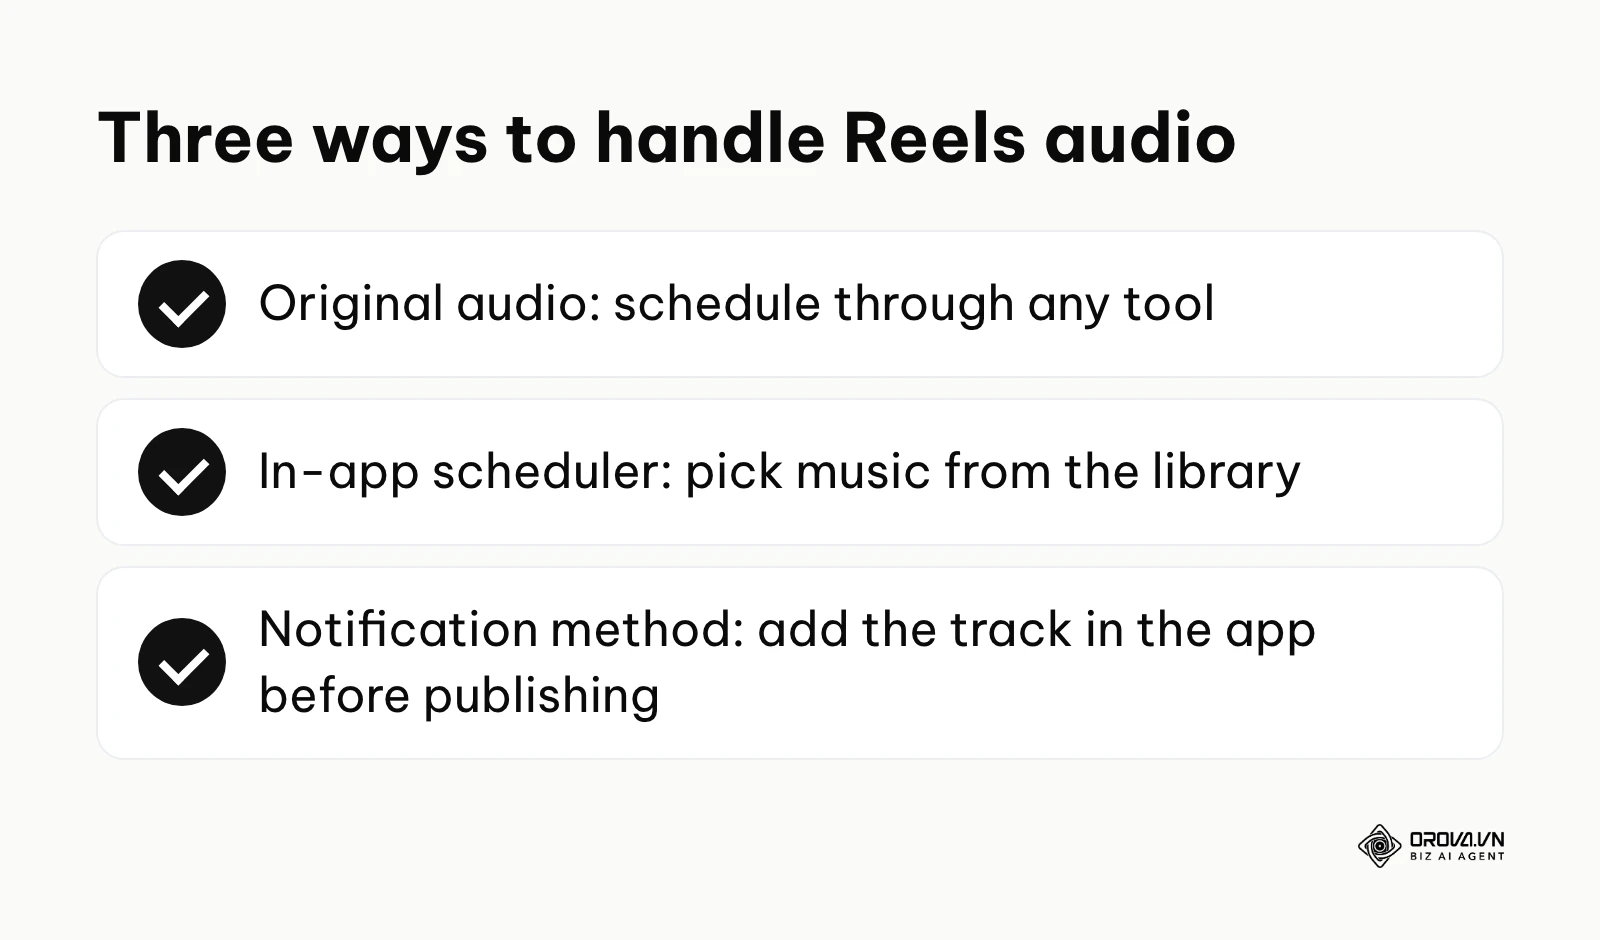
If you edit a Reel with a popular commercial song in your video editor, export it, and schedule it through a tool, the post may be muted or restricted after publishing because of copyright claims. To avoid this, you have three reliable workflows:
- Original audio: Create videos with voiceovers, talking heads, or royalty-free background music. You can schedule these through any tool without worrying about music rights.
- The in-app scheduler: Schedule the video in the Instagram app, where you can pick music from the library.
- The notification method: Plan the visual and caption in your software. When the reminder arrives, upload the video manually and add the trending track in Instagram right before you publish.
Step 6: Pre-scheduling checklist and final review
The final step before walking away is verification. Automated tools do exactly what you tell them, including your mistakes. Run a strict review before you finalize the queue.
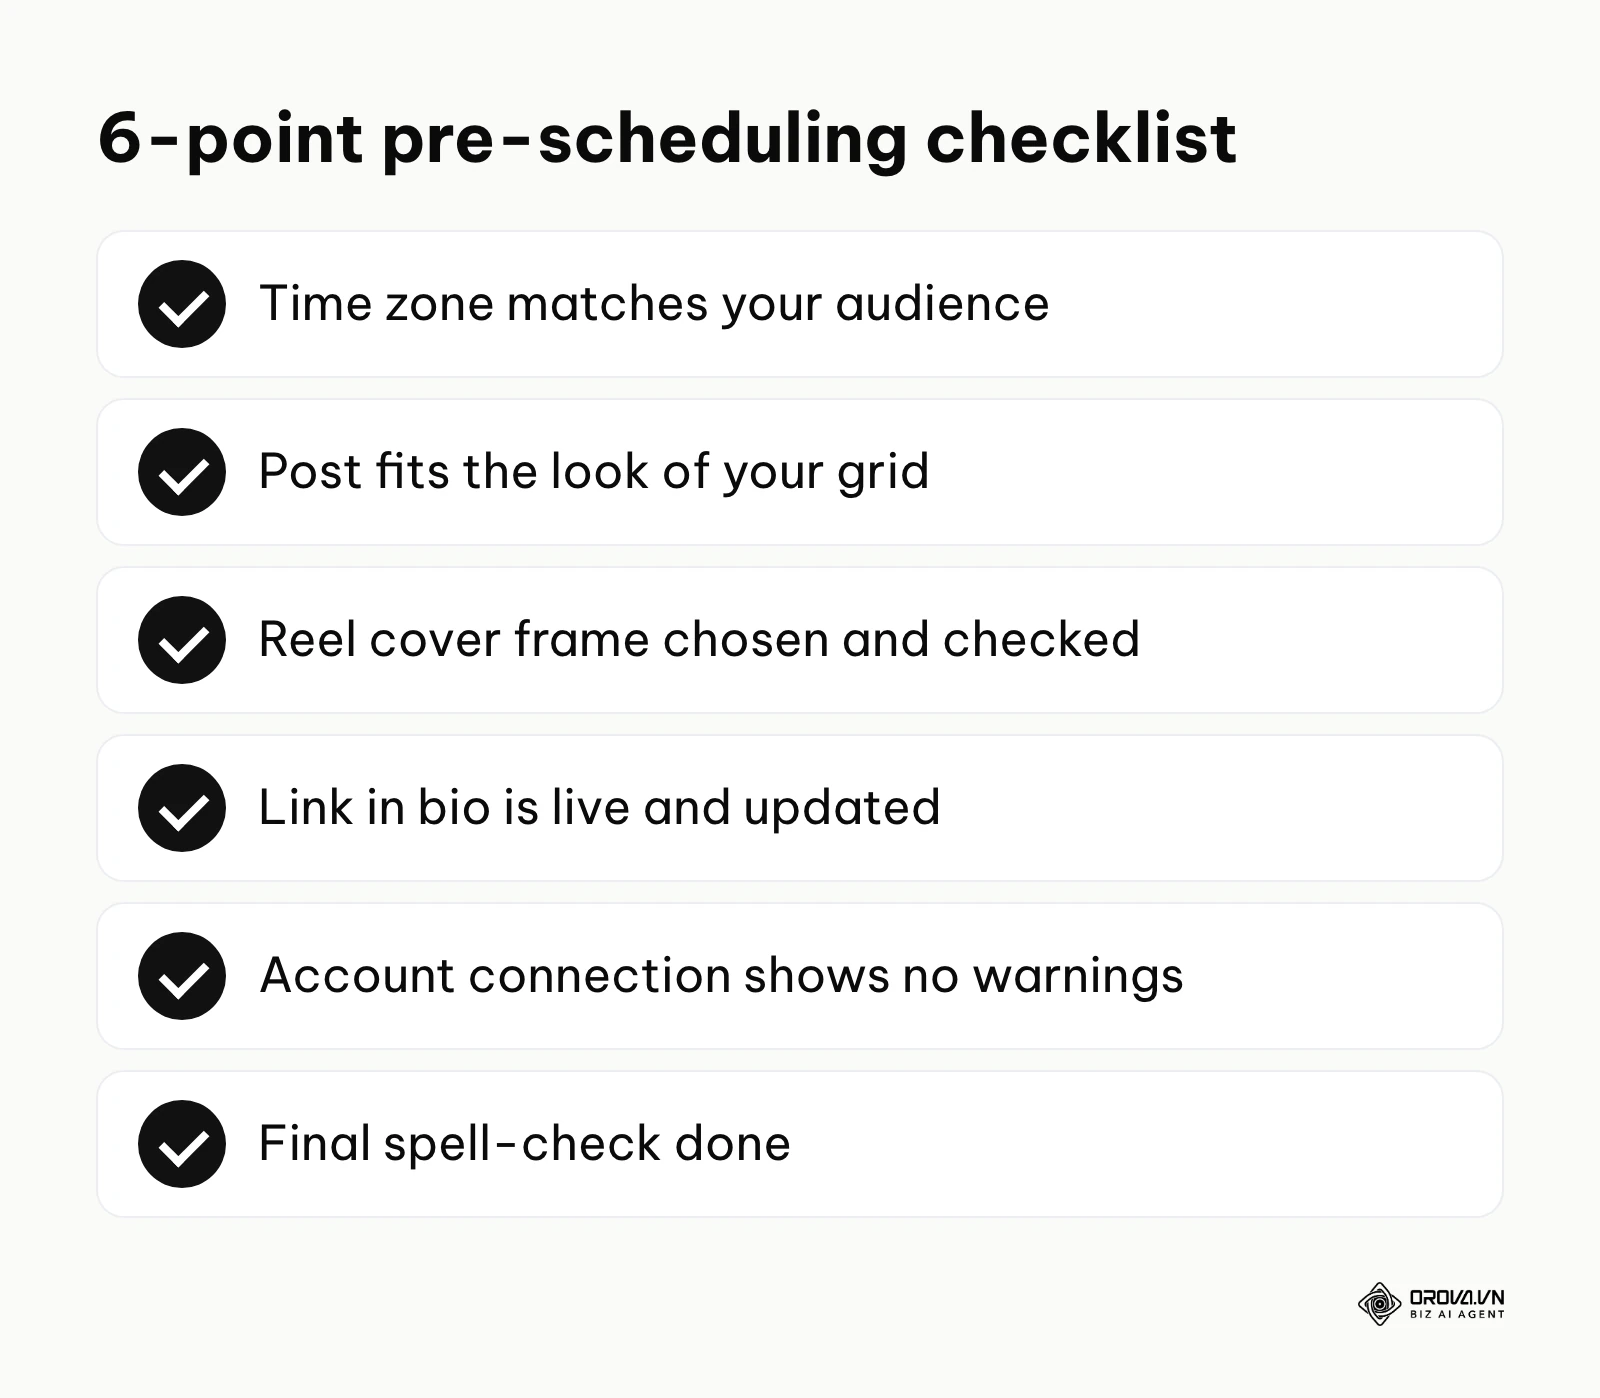
Use this pre-scheduling checklist:
- Time zones: Is your tool's time zone aligned with your audience's location? (For example, do not schedule for 9 AM Eastern if your tool is set to Pacific time.)
- Grid aesthetic: Does the upcoming post clash visually with the one published yesterday?
- Cover images: Have you picked a strong cover frame for your Reel, and does it look good in the grid crop?
- Links: If you mention a "link in bio," is that link live and updated?
- Connection health: Does your dashboard show any warnings about your account connection?
- Typos: Run a final spell-check. A typo in an automated post that sits live for hours looks unprofessional.
A standard checklist saves you from waking up to a failed post notification or a public relations blunder.
Managing Instagram alongside other channels? Orova Social lets you compose once and publish to 8 channels, including Instagram, TikTok and LinkedIn, writes captions with AI in your brand voice, and cuts long videos into 9:16 vertical clips with subtitles.
Deep analysis: Methods, API limits, and algorithm impact
One of the most persistent beliefs in social media marketing is that scheduling posts through a third-party app suppresses your reach. Many creators believe in a "shadowban" aimed at automated accounts, convinced that Instagram favors people who upload inside the app.
In our view, the case for this is weak, and it is an opinion worth testing on your own account rather than a rule Meta has announced. Ranking systems are generally understood to weigh what a post is and how people react to it. It is hard to see why Meta would offer an official publishing API for businesses and then quietly hold back the posts it delivers.
So why do some accounts see engagement drop after switching to scheduling? Often the reason is behavioral. When creators post manually, they tend to stay in the app, replying to early comments, viewing Stories, and engaging with other accounts. Early engagement, meaning how quickly a post picks up interactions after it goes live, is widely believed to matter.
When creators switch to scheduling, many adopt a "set-and-forget" habit. They schedule a post for 10 AM but do not open the app until 4 PM. During those early hours, comments sit unanswered. A post with little conversation is less likely to keep spreading in the feed. In that case, the drop in reach is a symptom of absent community management, not a penalty for using software.
To build a resilient workflow, compare what each method can typically do. Features change often, so treat this as a starting point and check your own tools.
| Feature / method | Instagram app | Meta Business Suite | Third-party tools |
|---|---|---|---|
| Auto-publish feed posts and carousels | Yes | Yes | Yes |
| Auto-publish Reels | Yes | Yes | Usually, without music-library tracks |
| Auto-publish Stories | Varies | Yes | Varies by tool; interactive stickers usually need manual posting |
| Music-library audio | Yes | Limited | Usually no (use the notification workaround) |
| Collab posts | Yes | Varies | Varies by tool |
| Other networks | No | Facebook only | Yes (often LinkedIn, TikTok, X and more) |
| Visual grid preview | No | No | Often available |
| First comment scheduling | No | No | Offered by many tools |
Knowing these limits lets you build a hybrid workflow. When organizing your content calendar, group your core educational topics into recurring themes so posts build on each other over time. You can schedule standard educational graphics, infographics, and talking-head videos through a third-party tool to keep a consistent baseline. At the same time, you can schedule trend-based Reels or Collab posts in the app to use its app-only features.
Illustrative example:
- Context: A five-person B2B software marketing team wanted to publish five times a week on Instagram to drive webinar signups.
- Steps taken: They adopted a third-party instagram post scheduler for daily educational carousels and product highlights. After two weeks of scheduled posting, their organic reach dropped sharply compared with their manual posting period.
- Hurdles and fixes: At first they blamed the tool and considered canceling it. After reviewing their insights and workflow, they found two problems. Their tool's default time zone was set to GMT, so posts went live in the middle of the night for their North American audience. They were also leaving comments until a weekly Friday review. They corrected the time zone and set a rule that someone spends 15 minutes replying to comments right after each scheduled post goes live.
- Result: Reach recovered within a few weeks, which suggested the problem was timing and missing engagement rather than the scheduling tool itself.
Troubleshooting: Fixing failed posts and API errors
Even with good preparation, technology sometimes fails. When you rely on scheduling, a failed post can disrupt a carefully planned campaign. Knowing the common errors and their fixes saves you from last-minute panic.
Error 1: OAuth Token Expiration
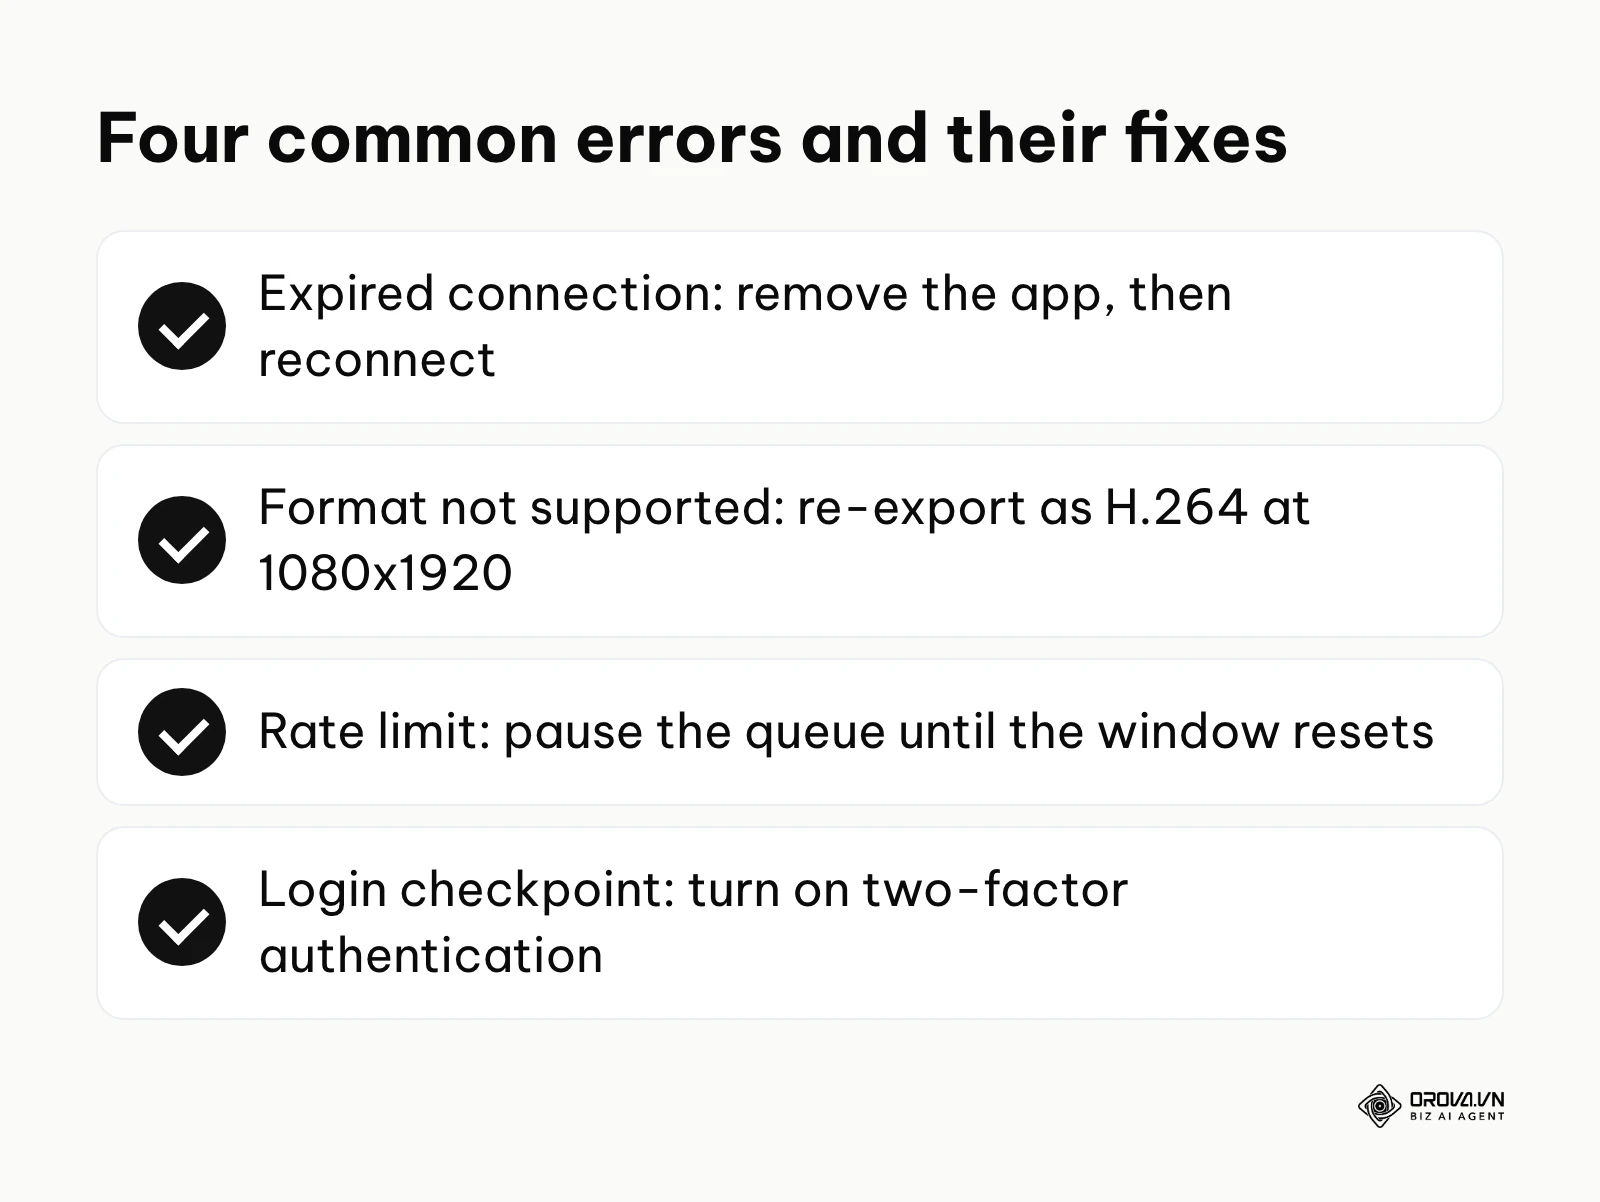
The most frequent issue is an "account disconnected" or expired connection alert. For security reasons, Meta's access tokens for third-party apps expire periodically, and they can also stop working if you change your Facebook password, switch your Instagram account back to personal, or if Meta flags unusual login activity. When this happens, your scheduling tool loses permission to publish, and your queue starts failing. The Fix: You usually cannot fix this inside the Instagram app. On a desktop, open your Facebook or Meta account settings, find the business integrations or connected apps section, and remove the scheduling app. Then return to your scheduling tool and run its "Reconnect" or "Refresh connection" process to create a fresh connection.
Error 2: Media Format Not Supported (Video Processing Failure)
If the tool reports "media format not supported" or a vague processing timeout, your file probably breaks the specifications from Step 2. It might use an unusual format (such as .MKV or Apple ProRes), an excessively high bit rate, or an aspect ratio the API does not accept. The Fix: Render your videos with standard web presets. In Premiere Pro or CapCut, choose H.264, set the resolution to 1080x1920, and keep the file size modest. Re-export the file and replace it in your queue.
Error 3: Rate Limits Exceeded
The Instagram API is designed to prevent spam, so it caps how many posts an account can publish through the API within a 24-hour window. The exact number has changed over time, so check your tool's documentation. The Fix: If a large campaign hits the cap, the API will temporarily refuse new posts and your tool will show a rate limit error. Pause your queue until the window resets, and spread your content out more evenly.
Error 4: Action Blocks and Login Checkpoints
Tools that publish through Meta's official API do not log in with your Instagram password, so security checkpoints usually point to something else, such as an unofficial app that asked for your password or unusual activity on the account. The Fix: Turn on two-factor authentication. If you hit a checkpoint, log in through the Instagram app, confirm the login attempt if it was yours, and remove any tool that asks for your password instead of using Meta's official connection.
Measuring results: How to know if your schedule works
Scheduling only pays off if it drives real results. A queue of 30 posts is useless if none of them resonate with your audience. Monitor performance to make sure your scheduled content is helping your brand grow. Follower count alone is a vanity metric; look deeper into your insights.
| Metric | What it means | Warning sign | How to improve it |
|---|---|---|---|
| Reach | How many accounts, followers and non-followers, saw the post. | Falls well below your recent average for the same format. | Post at better times, sharpen hashtags, focus on shareable content. |
| Engagement by reach | Interactions (likes, comments) divided by accounts reached. | Trends down for several weeks in a row. | Improve caption hooks, ask direct questions, use a clearer call to action. |
| Save rate | How often people bookmark your post for later. | Declines steadily over a month. | Create more educational carousels, infographics, and how-to posts. |
| Completion rate | How many viewers watch a Reel to the end. | Most viewers leave in the first few seconds. | Tighten editing, cut dead space at the start, add on-screen captions. |
| Share rate | How often people send your post via DM or to their Story. | No shares on major campaign posts. | Focus on relatable, useful, or emotionally resonant topics. |
To see these metrics, open the Professional Dashboard in Instagram or the analytics tab in your chosen tool. Give each post a couple of days before judging it, since reach often keeps building after the first few hours.
Once you identify your top scheduled posts, you have useful data. You can put a budget behind proven winners, the same idea behind TikTok Spark Ads, which turn organic videos into ads. For instance, if a scheduled educational carousel gets many saves, consider turning it into a lead magnet ad. Beyond your own insights, social listening tools show what people say about your brand outside your posts, which helps you decide what to schedule next.
Also measure the efficiency of the scheduling process itself. Are you actually saving time? If you spend 5 hours a week fighting formatting errors in a tool, you are not saving effort; you are just shifting it. Reinvest the time you save into analyzing metrics, engaging with your community, and planning strategy.
Plan a whole month ahead with Orova Social: schedule posts on a day, week or month calendar, let missed slots publish automatically, apply one brand profile to every post, and export your schedule to Excel. Free until July 7, 2027.
7 common mistakes when scheduling Instagram posts
Even experienced professionals fall into traps when managing bulk content calendars. The distance that comes with scheduling can lead to careless errors. Avoiding these mistakes keeps your profile looking professional.
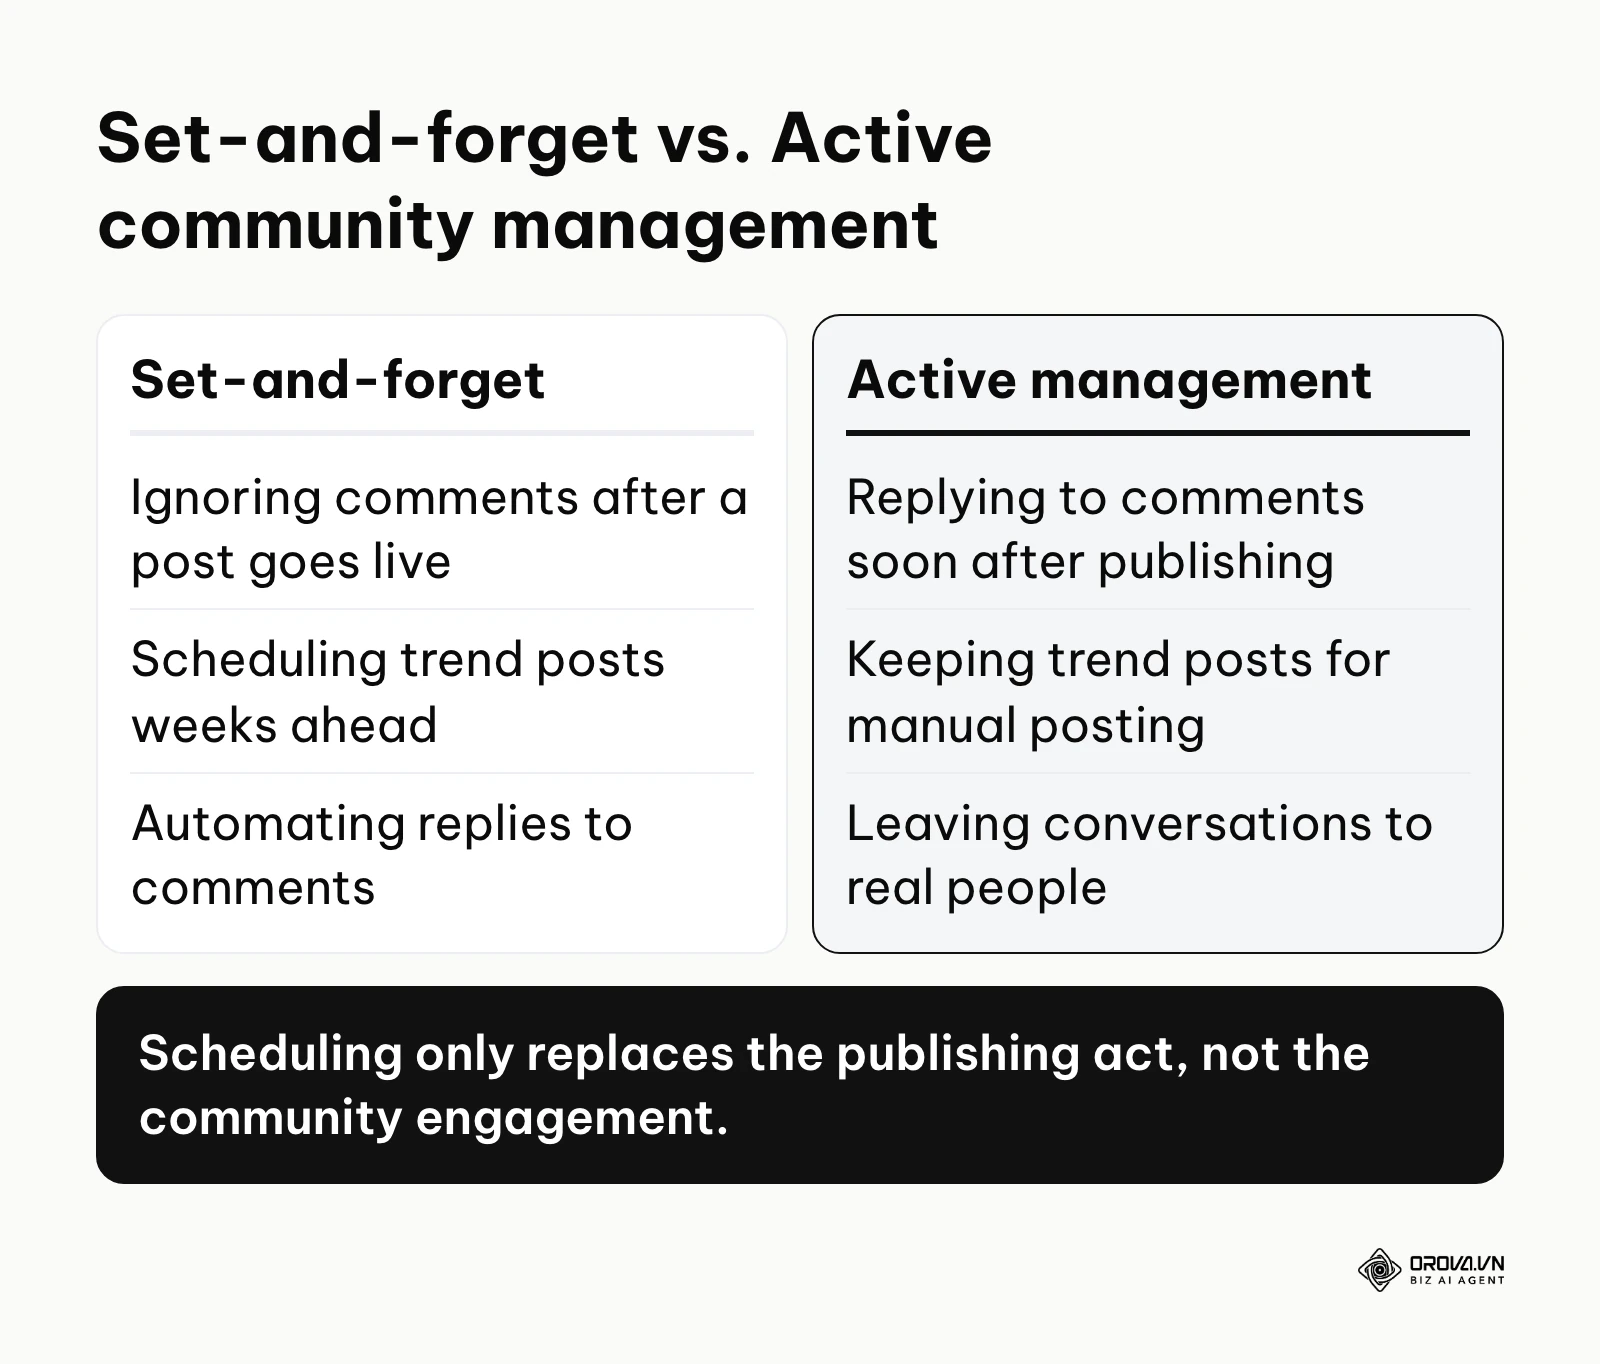
1. Scheduling and ghosting: As discussed above, leaving the platform as soon as a scheduled post goes live costs the post early momentum. The Fix: Set a phone reminder for 5 minutes after your scheduled posts go live. Spend 15 minutes replying to comments and DMs and leaving thoughtful comments on peers' posts.
2. Ignoring grid aesthetics: Uploading posts one by one on a calendar without seeing how they look side by side on your profile grid can make your profile look chaotic. Text gets cut off, colors clash, and the profile looks messy. The Fix: Use a tool with a visual grid preview. Drag and drop upcoming posts to balance colors before locking in the schedule.
3. Forgetting timezone differences: If your business operates in London but your main customers are in New York, scheduling for your local lunch hour means posts go live at 7 AM Eastern, missing peak activity. The Fix: Check your audience insights to see when your followers are most active. Set your tool's default time zone to match your audience, not your office.
4. Using expired trending tags and audios: Trends move fast. If you schedule a post referencing a viral meme or trending audio three weeks in advance, the joke may be dead by the time it publishes, making your brand look out of touch. The Fix: Keep trend-based content for manual, rapid-response posting. Use your scheduled queue for evergreen content that holds its value regardless of the date.
5. Over-automating personal responses: Using bot scripts to reply "Great post!" to comments on your scheduled content damages trust. People spot bot behavior quickly. The Fix: Let automation handle publishing. Real people should handle conversations and community interaction. Do not automate your replies.
6. Neglecting first comment opportunities: Many people dislike cluttered captions packed with hashtags. Skipping the option to put your hashtags in the first comment can leave your main text looking messy. The Fix: Use the first comment feature that many scheduling tools offer. Your caption stays clean and focused on the copy, while your hashtags still sit on the post.
7. Uploading massively heavy files: Pushing huge 4K video files or uncompressed RAW images through a scheduling tool often leads to heavy compression artifacts, making a crisp video look pixelated. The Fix: Optimize and compress files before uploading them. Use tools like HandBrake for video compression, aiming for 1080p, and compress images with TinyPNG before loading them into your queue.
Illustrative example:
- Context: A solo e-commerce founder tried to keep a daily posting cadence while building a major product update.
- Steps taken: The founder used a bulk upload feature to schedule 30 generic motivational quotes and product shots for the whole month, set them to publish at 9 AM every day, and stopped checking the app for three weeks.
- Hurdles and fixes: A major news event shifted the public mood, and the upbeat, sales-heavy posts suddenly looked insensitive. Followers left confused and negative comments. The founder had to stop work, pause the entire queue, post a short apology in Stories, and rewrite the upcoming captions.
- Result: Reacting quickly kept the core audience, but the lesson was clear: a scheduled queue still needs daily human oversight.
Where Instagram scheduling is heading in the next few years: the author's take
Scheduling tools and Instagram's own features keep changing, so treat this section as opinion, not forecast. Here are three shifts I think are worth preparing for.
Timing will matter less than the first hour of conversation
Today, many scheduling tools already suggest "best times to post" based on when your followers are online. My read is that over the next two to three years these suggestions will become a default setting rather than a feature people compare, and picking the exact hour by hand will matter less. What will still separate accounts is what happens after a post goes live. I think teams should prepare by treating the first hour after each scheduled post as a fixed slot for replying to comments, not an optional extra.
The gap between the app and outside tools will narrow, but not close
As of 2026, the Instagram app still does a few things outside tools often cannot, such as music-library audio and some interactive stickers. I think Meta will keep opening more of these to approved tools over the next few years, because businesses want one place to plan every channel. I also expect some features to stay app-only, especially anything tied to music licensing. The practical move is to standardize your video exports now and keep a short "finish in the app" checklist, so you can drop steps as support arrives.
AI drafting will make your point of view the scarce part
Many schedulers can already draft captions, suggest hashtags and resize media. I believe that within two to three years most teams will produce first drafts this way, so a feed full of competent but generic posts will be easy to make and easy to scroll past. My advice is to write down your brand's opinions, examples and tone now, so AI drafts have something specific to work from.
Frequently asked questions about Instagram scheduling
Does using a third-party scheduler decrease my reach or cause a shadowban?
There is no solid public evidence that posts published through Meta's official API are ranked lower, and in our view the bigger factors are behavioral: no one answering comments after the post goes live, posting when the audience is offline, or weaker content. If you are worried, test it on your own account by comparing similar posts published both ways.
Can I schedule Instagram Stories and Reels?
Reels, yes: you can schedule them in the Instagram app, in Meta Business Suite, and through most third-party tools. Story support depends on the tool, and interactive stickers (such as polls, questions, or link stickers) and music-library audio usually have to be added in the app, either by posting there or by using a tool's notification workaround.
How do I fix a disconnected account or "Failed to Publish" error?
Failed posts are often caused by an expired connection between Meta and your software. On a desktop, open the business integrations or connected apps section of your Facebook or Meta account settings, remove the scheduling tool, and then reconnect the account from your software's dashboard.
How can AI help me schedule faster?
AI can speed up the preparation phase by drafting captions in your brand voice, suggesting relevant hashtags, and resizing, cropping, or trimming long horizontal videos into the 9:16 vertical format Reels use.
Is there a completely free instagram post scheduler?
Meta Business Suite is free and lets you schedule content for both Facebook and Instagram from desktop or mobile. It lacks some features found in paid tools, such as grid planning and posting to networks like LinkedIn or TikTok, but it is the main free option from Meta itself. Many third-party tools also offer limited free plans.
Can I tag products for Instagram Shopping in scheduled posts?
Sometimes. Support varies by tool, so check whether yours offers product tags, and make sure your Instagram shop is approved and linked to your catalog in Meta Commerce Manager.
Where to start?
If you have never scheduled social media content before, tools and API limits can feel overwhelming. Depending on where you are, here is the first step to take today.
For absolute beginners: If you still use a personal profile for your brand, your first task is to switch. Open your Instagram settings, go to account type and tools, and switch to a professional account. You cannot use third-party publishing tools or view full insights without this step. Link a Facebook Page during setup if your chosen tool asks for one.
For intermediate users: If you already have a professional account but have never scheduled a post, do not buy software right away. Open Meta Business Suite, make sure your accounts are connected, and schedule three evergreen posts (such as educational graphics or strong photos) for the coming week. This zero-cost experiment shows you how queuing, time zones, and the calendar view work without any financial risk.
For advanced users experiencing issues: If you already pay for a third-party tool but see constant failed posts, pixelated uploads, or falling reach, start with a setup review. Open your Facebook or Meta business settings, remove old or duplicate app connections, and reconnect your tool for a clean connection. Next, check your video export settings against the H.264 and 1080x1920 requirements. Finally, set a rule to spend 15 minutes on comments after every scheduled post goes live.
About the author

Builder of Orova
Nguyễn Đỗ Trọng Ân has 8 years of experience in marketing, including 6 years managing market development across Asia. He builds Orova, a Biz AI Agent that never sleeps: it plans, runs and optimizes work for businesses.
Run your business with AI Agents
Orova is the always-on Biz AI Agent — it plans, runs, and optimizes the work for you.
Save time, unlock productivity.