
How to create an online course with AI: The 2026 guide to launching and selling

You know you possess valuable knowledge, and you are wondering how to create an online course to turn that expertise into a scalable income stream. The dream is alluring: record your lessons once, upload them to a platform, and wake up to notification alerts of new sales while you sleep. However, the reality for most beginners is incredibly frustrating. Many creators spend six grueling months writing scripts, filming in their living rooms, and struggling with complex editing software, only to launch their course to absolute silence. Even worse, some manage to secure sales, but their students abandon the course halfway through, leading to high refund rates and zero word-of-mouth referrals.
The traditional playbook of "just teach your passion" no longer works in the highly competitive digital landscape of today. The market is saturated, consumer attention spans are shorter than ever, and production standards appear impossibly high. This post changes that narrative. You will not find generic motivational advice here. Instead, you will get a concrete, actionable framework. You will learn how to use artificial intelligence to get past the blank page when outlining your curriculum, how to build a professional-quality recording setup for under 100 dollars, and how to run a structured 14-day launch that gives your course a real chance to sell.
How to create an online course: The 2026 framework
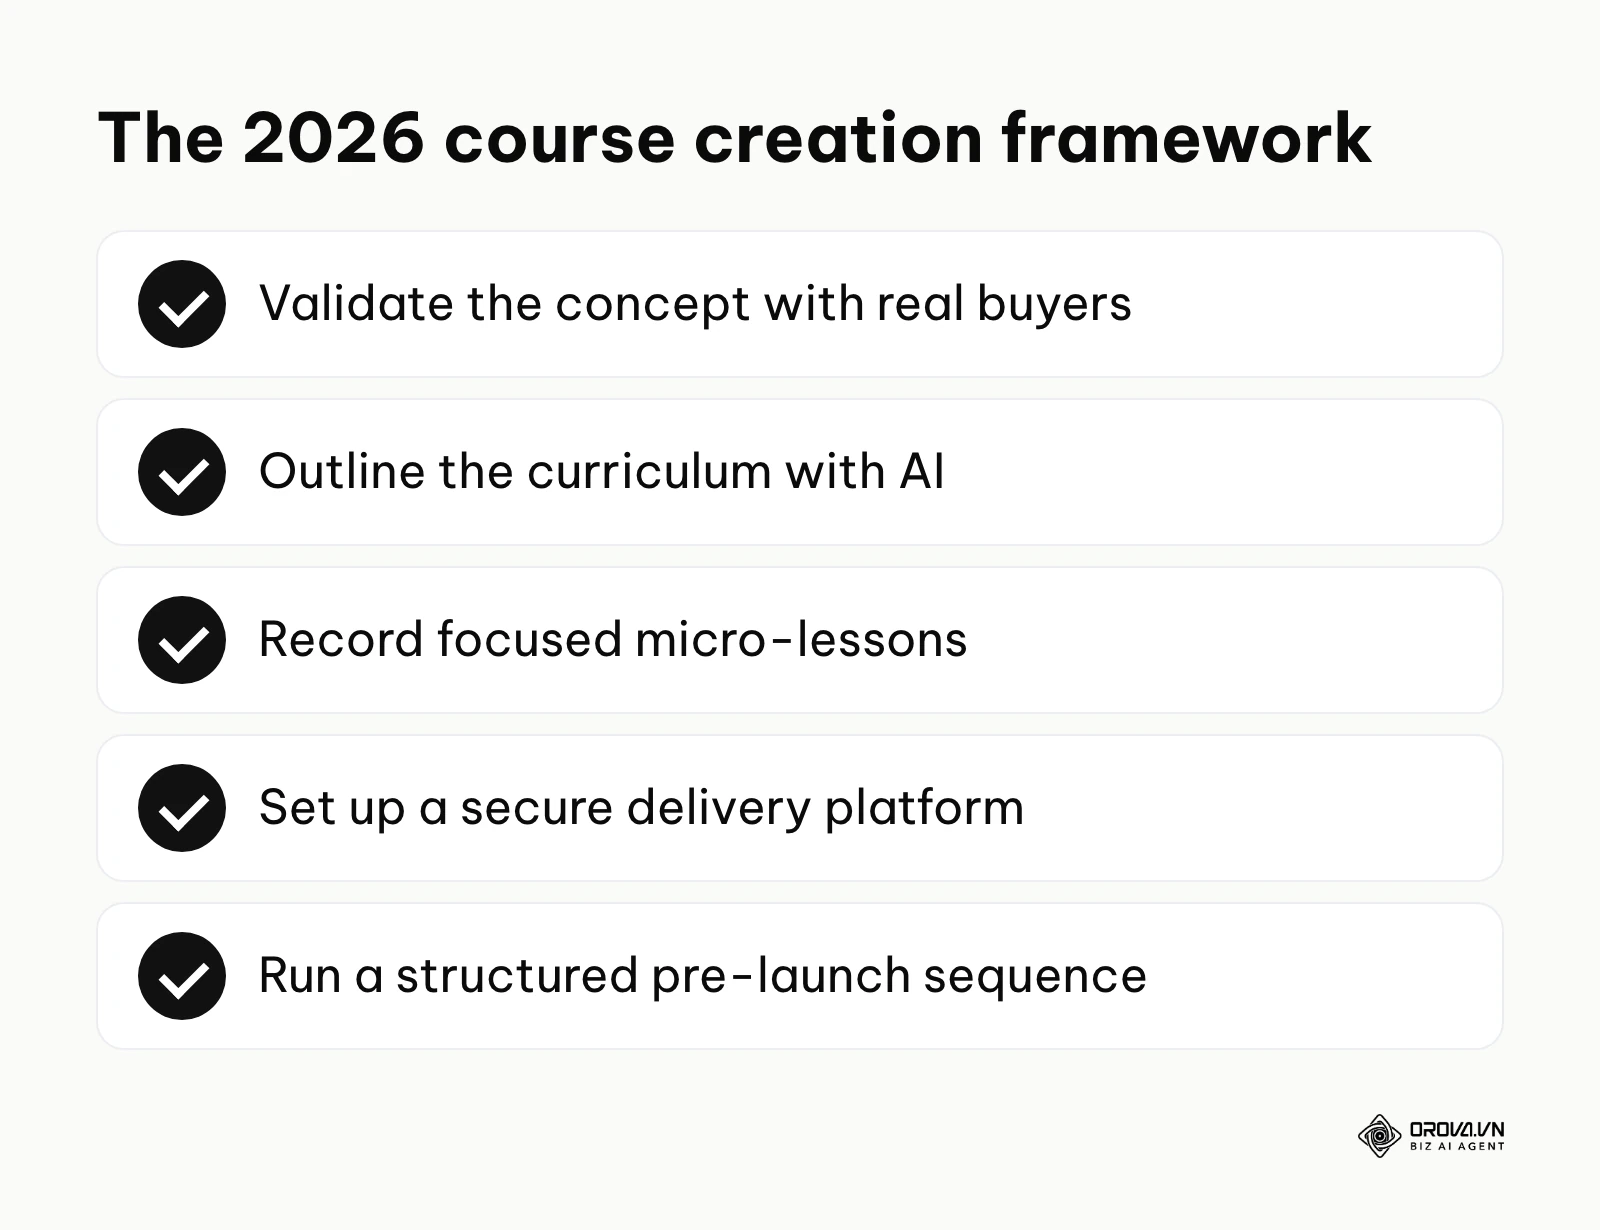
Creating a successful online course requires a systematic approach: validating your concept with real buyers, utilizing AI for rapid curriculum outlining, recording highly focused micro-lessons, configuring a secure delivery platform, and executing a structured pre-launch marketing sequence. This framework is strictly for professionals with genuine, tested expertise; you should not attempt this if you plan to simply summarize Wikipedia articles or lack practical experience in your topic. If digital learning formats are new to you, start with this overview of what eLearning is and how it works.
Preparation: Budgeting your equipment and software
Before you even think about hitting the record button, you need to prepare your assets and define your financial boundaries. One of the most common traps beginners fall into is using equipment as a form of procrastination. They believe they cannot start until they buy a 2,000-dollar cinema camera. This is false. Your students are paying for the transformation you provide, not the cinematic depth of field in your video. You need to gather the right tools efficiently.
| Necessary Asset | Where to acquire it | Time required to setup |
|---|---|---|
| Microphone | Online retailers (Amazon, local tech stores) | 10 minutes |
| Camera | Your current smartphone (iPhone 12+ or equivalent Android) | 0 minutes |
| Screen Recording Software | OBS Studio (Free) or Loom | 30 minutes |
| Lighting | A window (Free) or a basic LED ring light | 5 minutes |
| AI Text Assistant | ChatGPT, Claude, or similar AI tool | 5 minutes |
You must understand how to allocate your budget effectively. Audio quality is exponentially more critical than video quality. A viewer will forgive a slightly grainy video if the audio is crisp and authoritative, but they will immediately close a 4K video if the audio sounds like it was recorded inside a tin can.
Let us break down three realistic budget tiers for your production setup:
The Zero-Budget Setup If you have absolutely no budget, you can still create a professional product. Use your current smartphone's rear camera (it is always higher quality than the front selfie camera). For lighting, sit facing a large window during daylight hours. Do not have the window behind you, or you will appear as a silhouette. For audio, record in a small room filled with soft furniture—like a bedroom with a carpet and a large bed—to naturally absorb echoes. Use your phone's built-in microphone, but ensure the phone is no more than two feet away from your mouth.
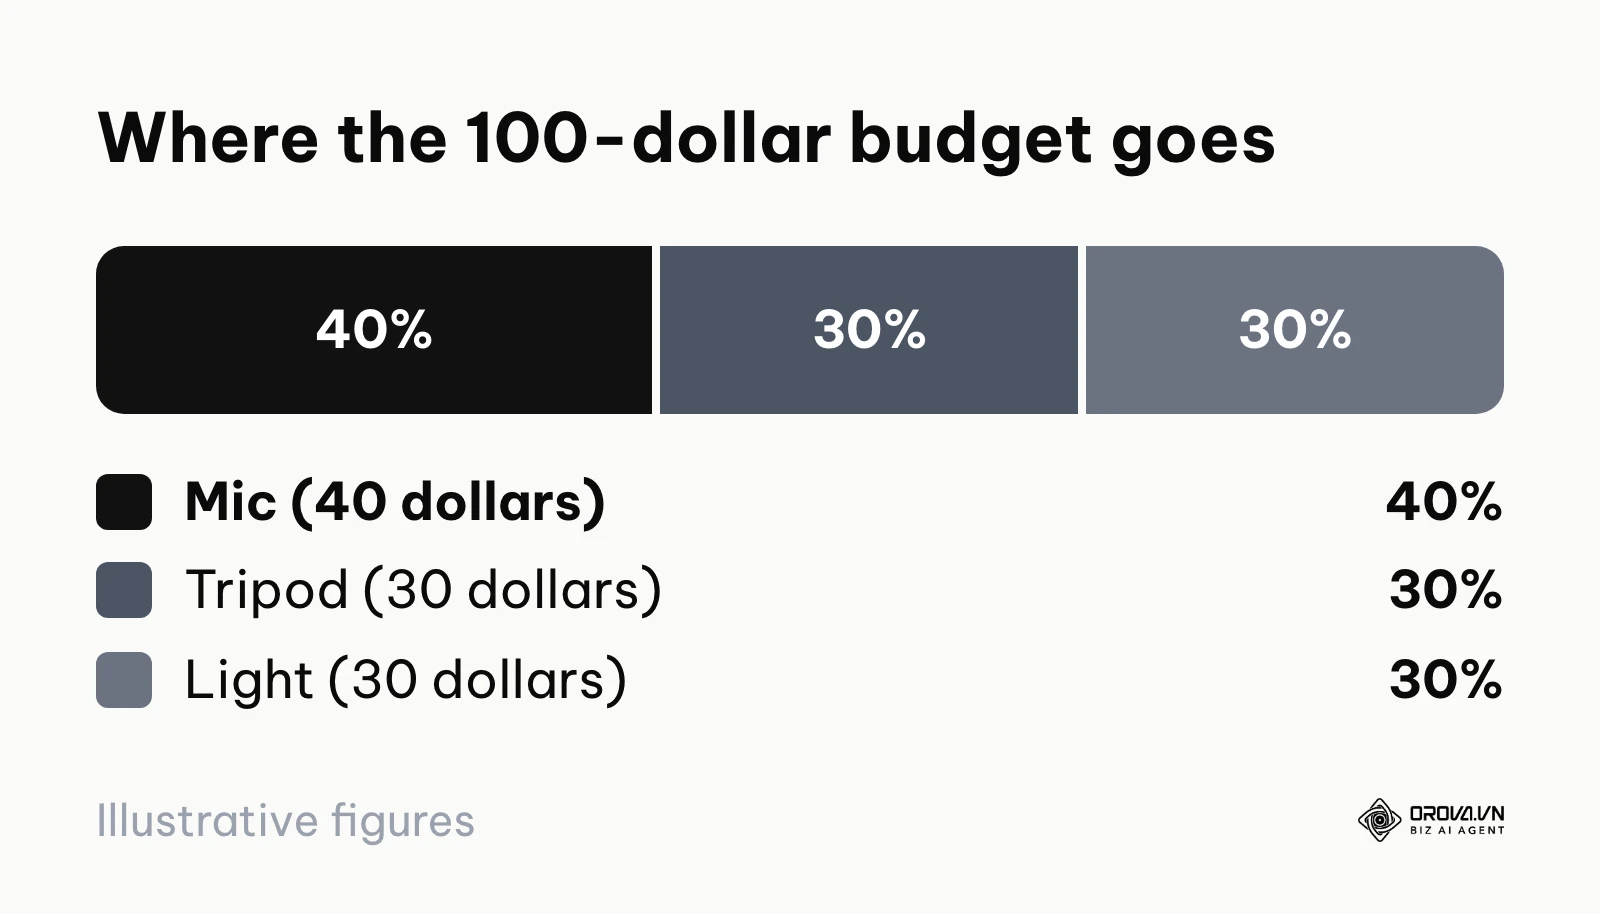
The Under-100-Dollar Budget Setup This is the sweet spot for most beginners. Spend 40 dollars on a basic wired lavalier microphone that plugs directly into your smartphone. This single purchase will drastically elevate your perceived professionalism. Spend 30 dollars on a sturdy tripod with a smartphone mount to ensure your framing is perfectly stable. Spend the remaining 30 dollars on a basic LED ring light or a small key light to fill in shadows on your face when natural light is inconsistent.
The Professional Setup (Not recommended for your first course) This involves spending upwards of 1,000 dollars on a mirrorless camera, a dynamic broadcast microphone, an audio interface, and a three-point lighting kit. Unless you already own this gear from a previous hobby, do not buy it until your course has generated enough profit to pay for it.
Illustrative example:
- Context: Sarah, a freelance graphic designer, wanted to create a course on Adobe Illustrator basics but had a strict zero budget.
- Steps: She propped her iPhone 13 against a stack of books on her desk, sat directly facing a bright window, and used the phone's built-in microphone in her sparse, minimalist home office to record a 5-minute pilot lesson.
- Stumble: While the video looked clear, the empty room created a terrible echo. The audio sounded distant and hollow, causing her test viewers to complain that it was hard to concentrate on the tutorial.
- Result: She purchased a 20-dollar wired lavalier microphone, plugged it in, and hung a thick blanket off-camera to absorb sound. The audio clarity instantly became rich and intimate, making her final 2-hour course feel incredibly premium despite spending almost nothing on video gear.
The 6-step online course creation process
This process removes the guesswork from content creation. Follow these steps sequentially; skipping ahead will result in wasted effort.
Step 1: Validate your idea and find the gap
You must validate market demand before you write a single script. Validation does not mean asking your friends if they think your idea is good. Validation means asking strangers to give you their credit card information for a promise of a future product. This is called pre-selling.
You need to define the exact transformation your course provides. Do not sell "How to use Excel." Sell "How to automate your monthly financial reporting in Excel so you can leave the office at 5 PM."
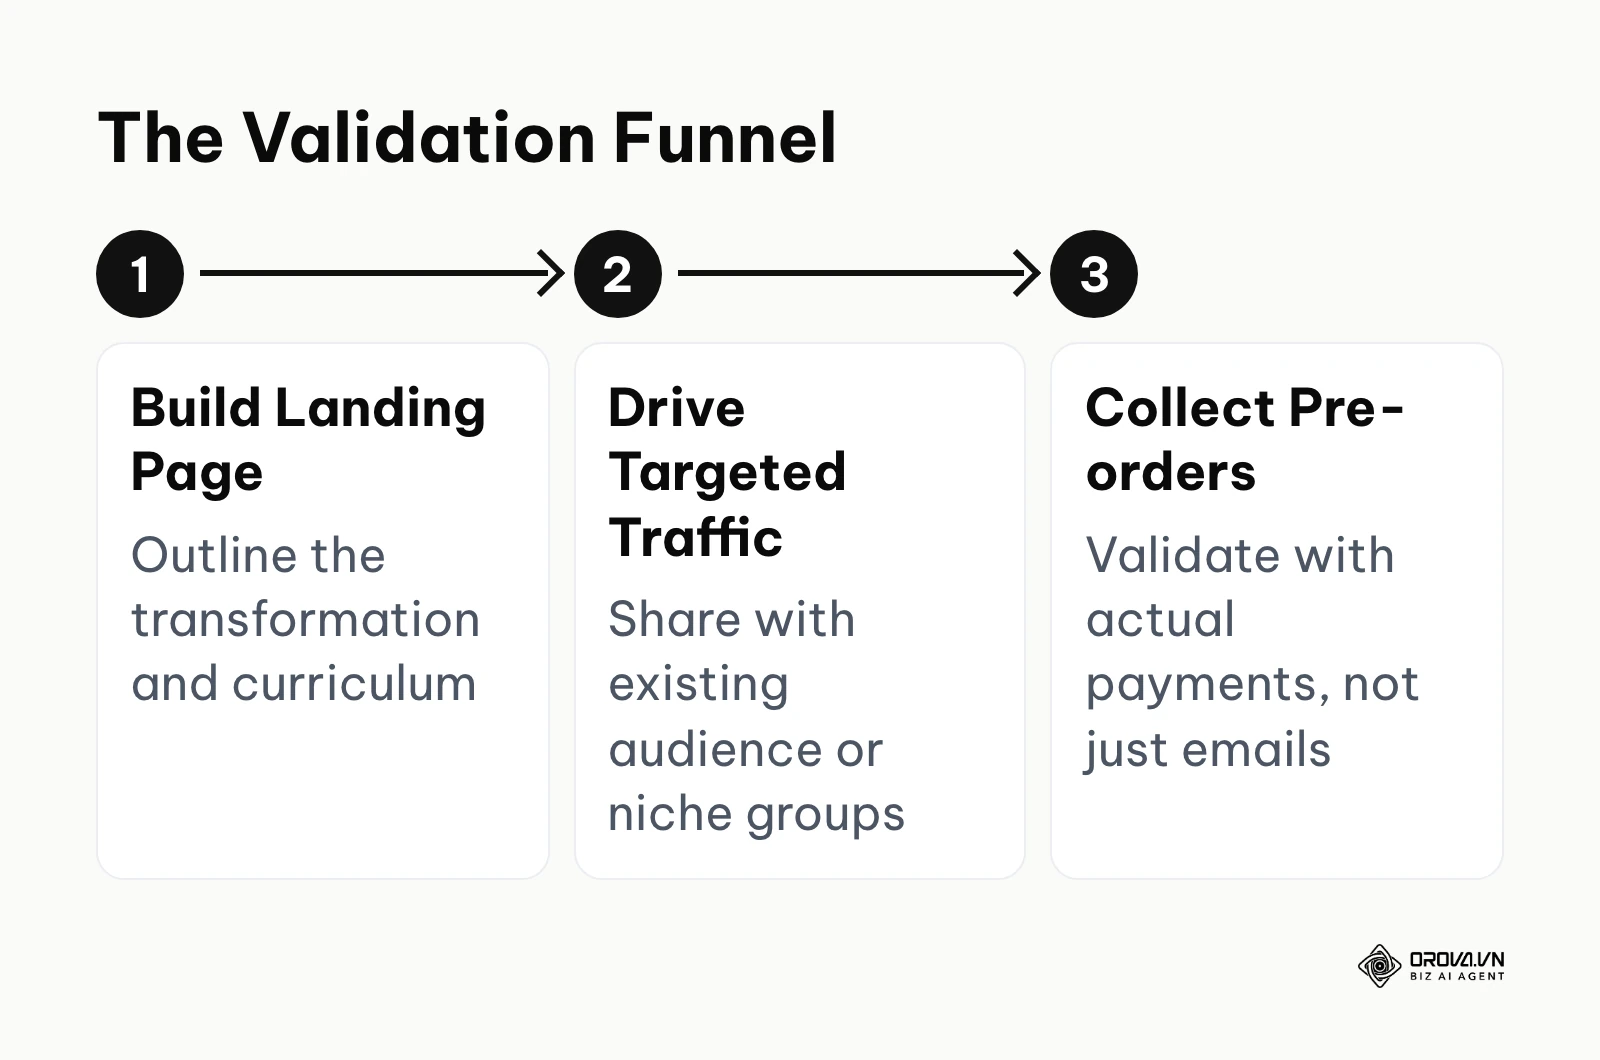
To validate, build a simple, single-page website detailing the curriculum you intend to build. Add a checkout button. Clearly state that the course will be delivered in 30 days, and offer a significant discount (e.g., 50% off) for early adopters. If you cannot persuade 10 people to buy the course at a discount based on the outline alone, you will not be able to sell it when it is fully recorded. If nobody buys, refund anyone who did, ask them why they bought, and pivot your idea. To monitor how users interact with your validation page, you should implement basic click tracking to see if they are abandoning the page at the pricing section or the curriculum section.
Illustrative example:
- Context: Marcus, a fitness coach, wanted to launch a 200-dollar comprehensive course titled "Advanced Kettlebell Training for Busy Moms."
- Steps: Instead of spending weeks filming, he built a landing page outlining the planned modules. He integrated a Stripe checkout button, promised delivery in four weeks, and shared the link in three Facebook groups he actively moderated.
- Stumble: After one week, his analytics showed 600 visitors but absolutely zero sales. He emailed five users who clicked the checkout button but abandoned the cart; they replied that the curriculum looked too intense and time-consuming for their schedule.
- Result: He completely rewrote the page, changing the focus to "15-Minute Kettlebell Routines for Postpartum Core Recovery," dropped the price to 99 dollars, and secured 14 pre-orders in three days. He only began recording the videos after the money hit his bank account.
Step 2: Build the curriculum outline with AI
Once validated, you need a structure. Staring at a blank document is the biggest bottleneck for course creators. In 2026, you should use AI to generate your initial curriculum blueprint. You will not use the AI's output as the final product; you will use it to bypass the "blank page syndrome."
Open your preferred AI assistant and use this exact prompt to generate your module structure.
The Brain Dump Prompt: "Act as an expert instructional designer. I am creating an online course titled '[Insert Course Title]'. The target audience is [Insert Target Audience]. The ultimate transformation they want is [Insert Result]. Here are all the random concepts, tools, and ideas I want to cover: [Insert a massive, unorganized list of everything in your head]. Group these ideas into a logical, sequential learning path consisting of 4 to 6 main Modules. For each Module, write a one-sentence goal explaining what the student will achieve by the end of it."
Review the AI's output. Rearrange the modules so they build upon each other logically. The structure should move the student from foundational knowledge to advanced application.
Step 3: Scripting the lessons for high retention
Never write a script that you intend to read word-for-word on camera. Reading verbatim makes you sound robotic, strips away your natural enthusiasm, and makes eye contact with the lens incredibly difficult unless you invest in a professional teleprompter setup. Instead, you will script in detailed bullet points.
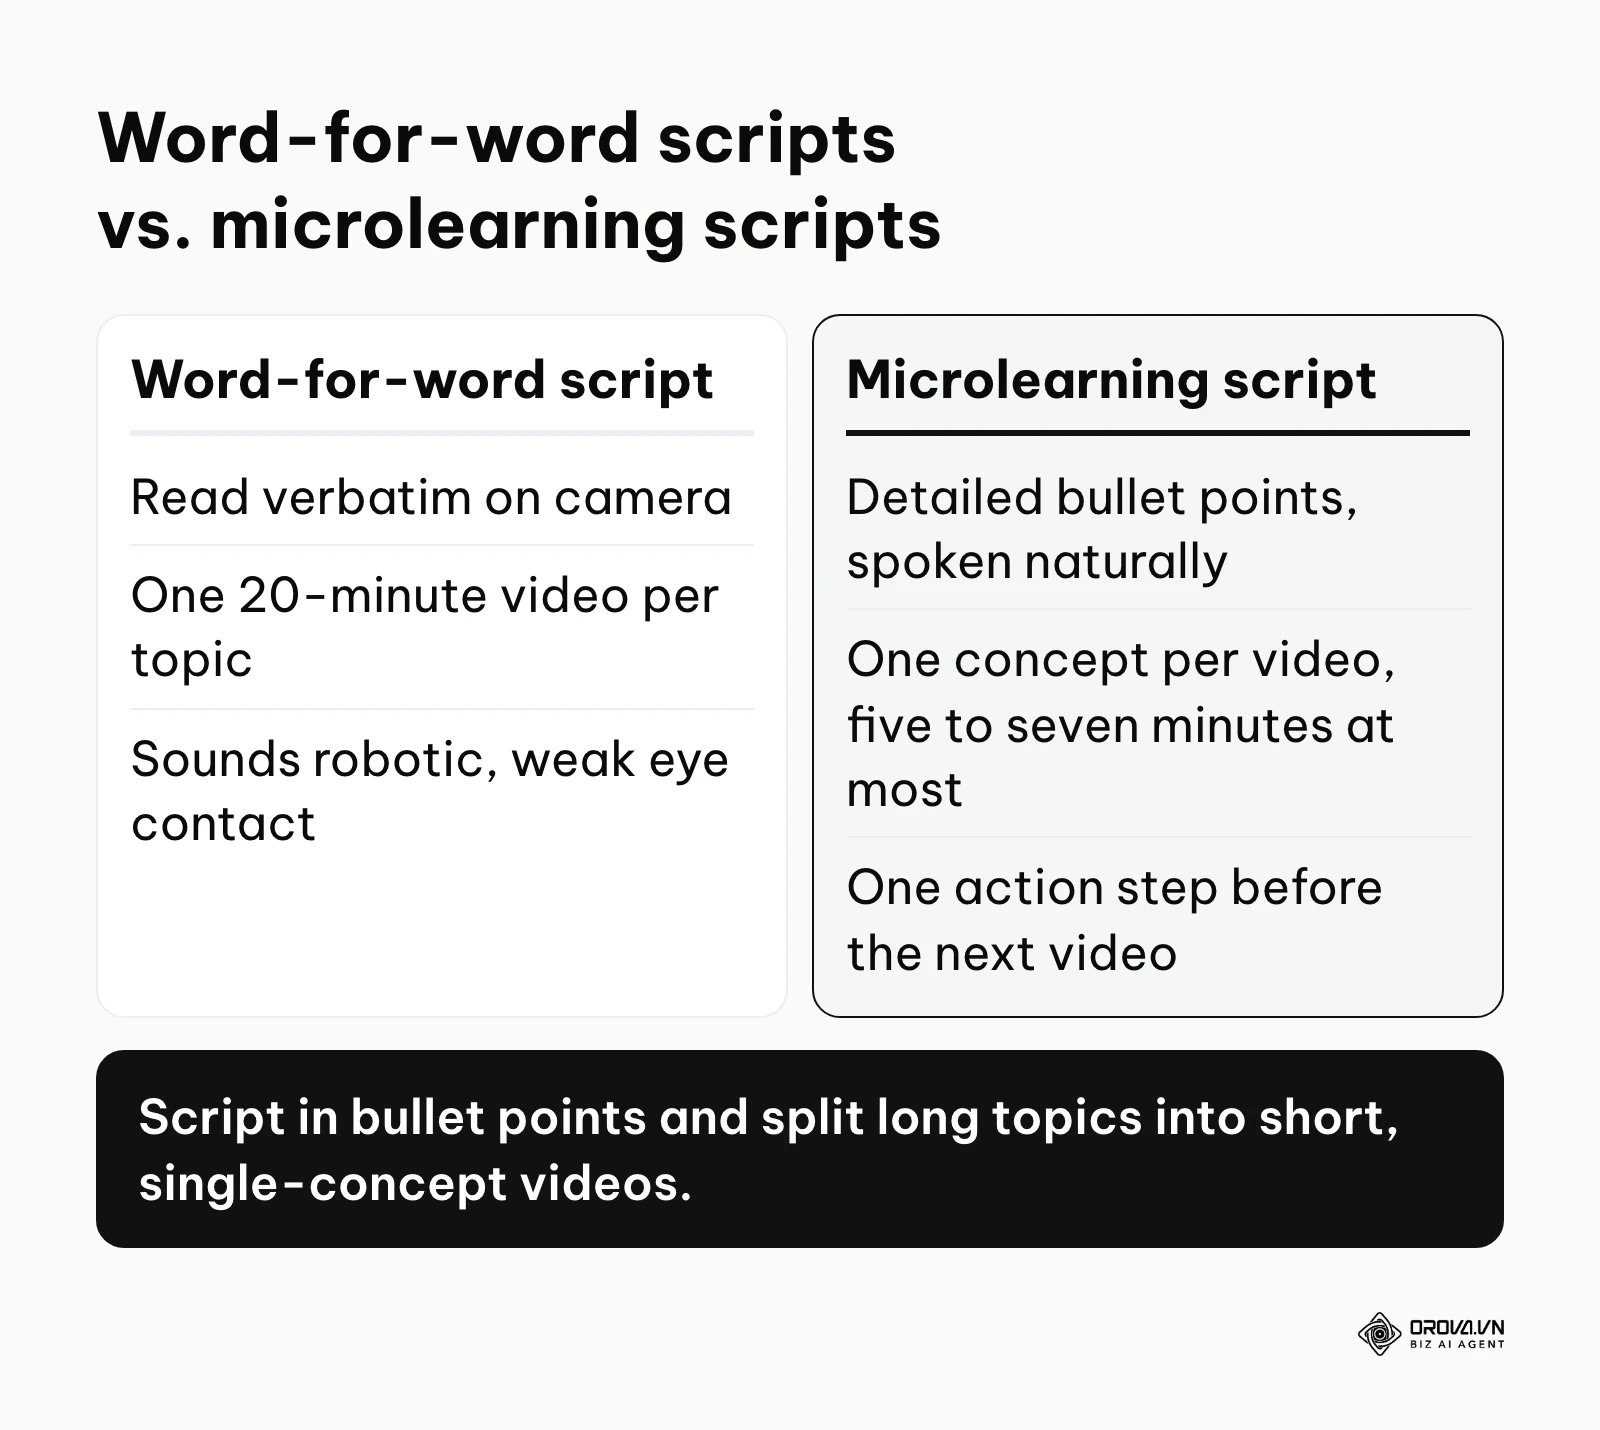
Furthermore, you must design for microlearning. Short lessons that each cover one idea are easier for busy students to finish. A single video should cover exactly one concept and last no longer than five to seven minutes. If a topic requires 20 minutes to explain, you must break it down into four separate videos.
Use this prompt to turn your modules into micro-lessons:
The Lesson Breakdown Prompt: "Take Module 1 from the previous outline. Break this module down into 3 to 5 micro-lessons. Each lesson must take less than 5 minutes to teach. For each lesson, provide a title, a one-sentence hook to grab attention, 3 bullet points of the core content to cover, and 1 specific action step the student must take before moving to the next video."
This prompt forces the AI to structure your knowledge into actionable, digestible chunks. Your job is to take those three bullet points and speak naturally about them based on your expertise. If you later want to turn these lessons into interactive modules with branching or built-in checks, compare the options in our guide to eLearning authoring tools.
Step 4: Recording and Production
When you are ready to record, your physical environment must be controlled. Turn off fans, close windows to block traffic noise, and ensure your lighting is consistent.
When speaking to the camera, look directly into the lens, not at the screen or your own reflection. The lens represents the student's eye. If you stumble over a word, do not stop the recording and start over from the beginning. Simply pause for three seconds, smile, and repeat the sentence. You will easily cut out the mistake during the editing phase. The three-second pause creates a clear visual break in the audio waveform, making it easy to find the error later.
If you are teaching software, you will need to record your screen. Screencasting is the process of capturing your computer screen while recording your voiceover. Ensure your desktop is clean; hide personal files, turn off all notifications, and enlarge your mouse cursor slightly so students can easily follow your clicks.
Step 5: Editing and Packaging for completion
Editing is where you shape the pacing of your course. Your primary goal during editing is to remove friction. Cut out every "um," "ah," long pause, and deep breath. The video must feel dense with information.
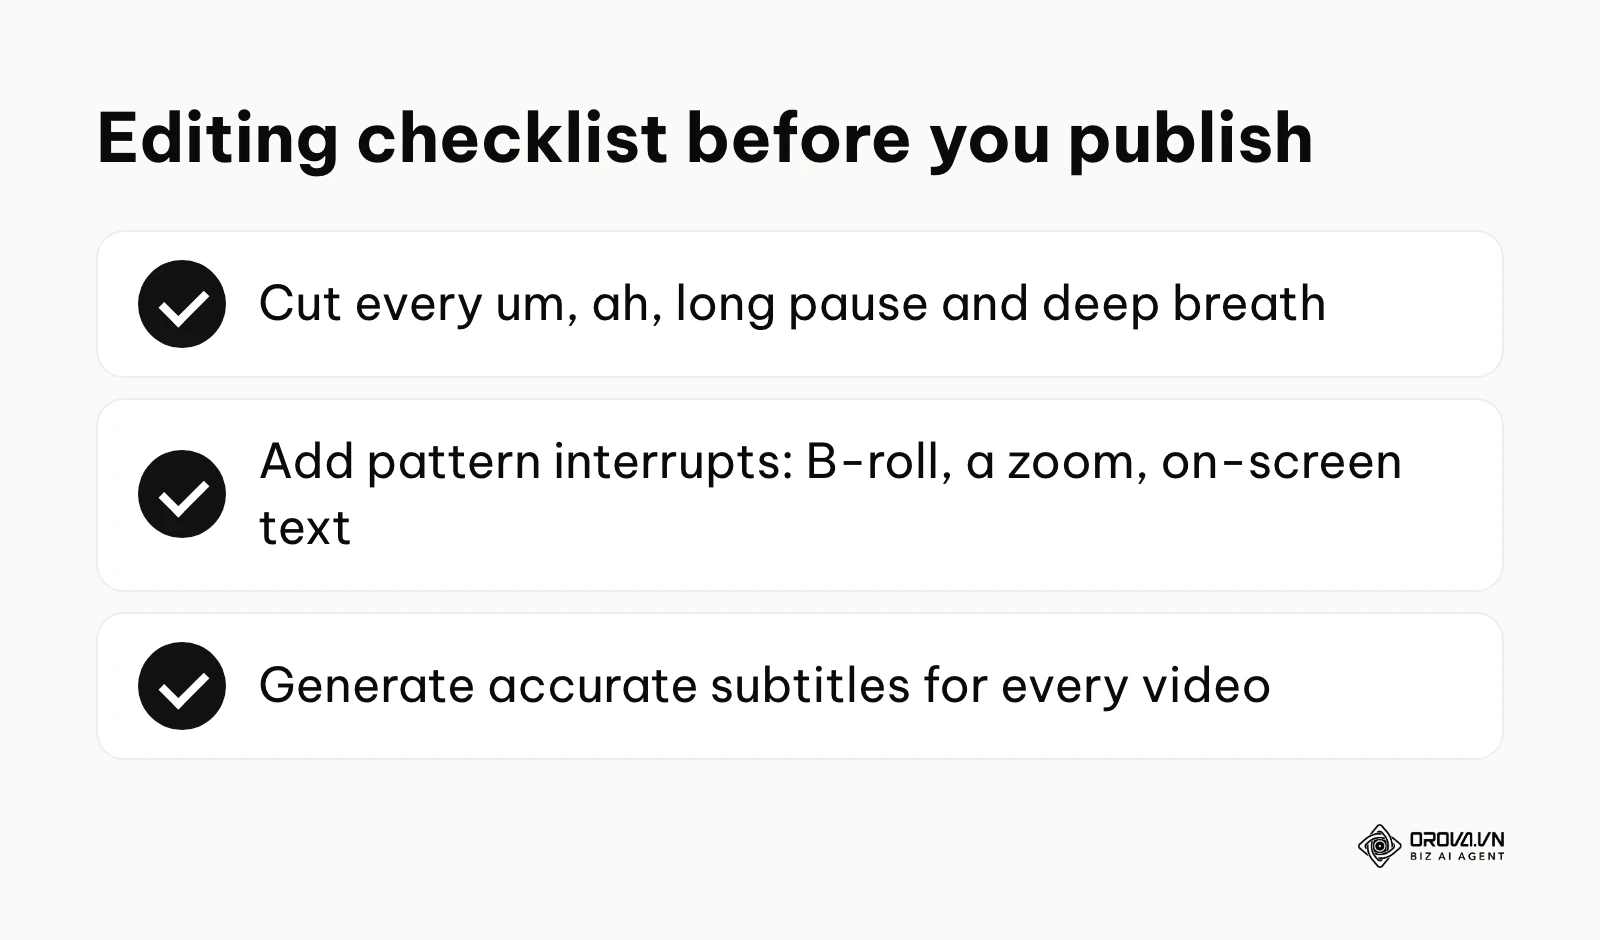
You also need to add pattern interrupts to keep the viewer engaged. A pattern interrupt is a visual or auditory change that resets the viewer's attention span. This could be zooming the camera in slightly during an important point, displaying a text graphic summarizing a rule on the screen, or cutting away to B-roll (supplementary footage that visually represents what you are talking about).
Additionally, you must package the course for accessibility. According to the Web Content Accessibility Guidelines (WCAG) 2.1 by the W3C (2018), providing accurate text alternatives for all audio content is not just an enhancement, but a core requirement for modern digital accessibility. You must generate accurate subtitles (captions) for every video. Most modern editing software includes AI-driven auto-captioning tools that do this in seconds.
Step 6: Platform setup and DRM protection
Your videos are recorded and edited. Now you need a place to host them securely. You cannot simply upload course videos to public platforms like YouTube or Google Drive; it looks unprofessional, you cannot track student progress, and the videos are easily shared.
You need a Learning Management System (LMS). An LMS provides the infrastructure to host videos, process payments securely, gate content so students must complete lesson A before lesson B, and issue certificates.
A critical concern for many creators is protecting their intellectual property. You will want to employ Digital Rights Management (DRM). DRM is a systematic approach to copyright protection for digital media. It prevents users from right-clicking and saving your video files or using simple browser extensions to download them. However, it is vital to understand that no system can fully prevent a determined user from using screen recording software to capture the playback. Your best defense against piracy is not unbreakable encryption, but creating an interactive course environment—such as private community access, live Q&A calls, and graded assignments—that a pirated video file simply cannot replicate.
Stop spending months on video editing and manual grading. With Orova Training, you can use AI to draft lessons, slides, podcasts in 30 voices, videos with voiceover and subtitles, and flashcards, then add online quizzes that AI grades while you can still adjust scores by hand. You spend less time on production and more time on what only you can teach.
Deep dive: Marketplace versus Owned LMS
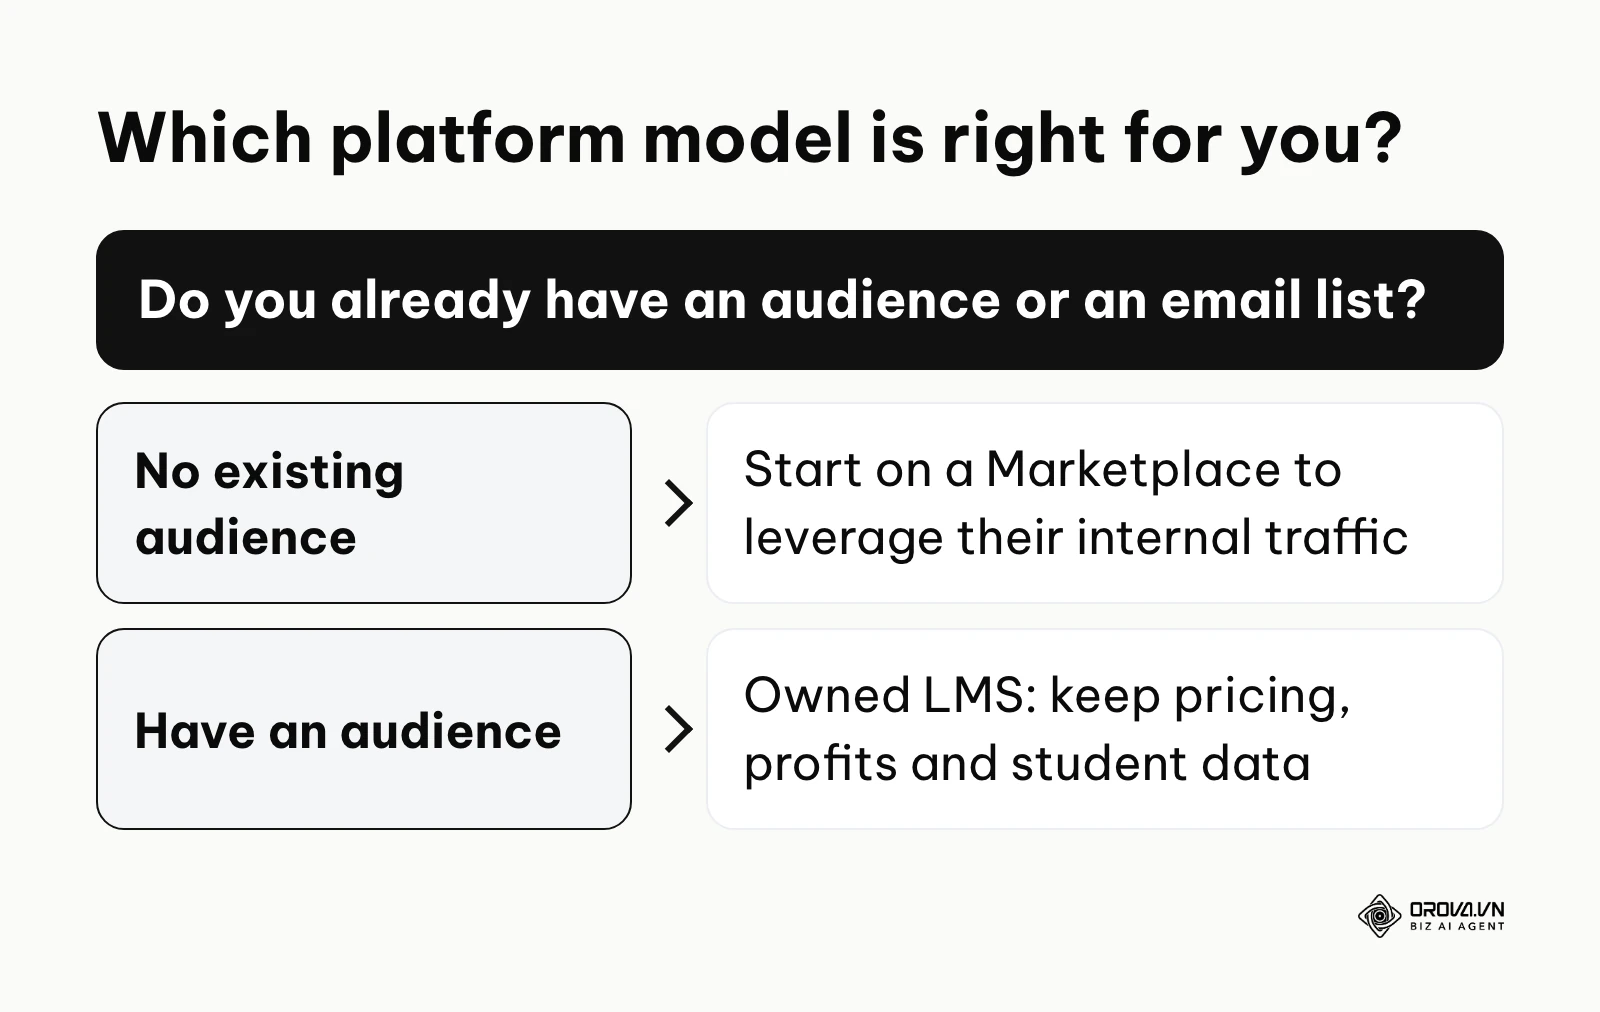
Choosing where to host your course is the most important technical decision you will make. The core difference lies in control versus traffic. Marketplaces bring you an audience but take a massive percentage of your revenue and control your pricing strategy, while owned platforms require you to drive all your own traffic but allow you to keep the data, the profit, and full control over your brand.
Understanding how to choose an LMS is crucial. You essentially have two paths.
The first path is a Marketplace (like Udemy or Skillshare). These platforms operate like Amazon for education. Millions of students browse these sites daily. If you rank well in their search algorithm, they will send you buyers without you spending a dime on marketing.
The second path is an Owned LMS (like Teachable, Kajabi, or self-hosted WordPress solutions). Here, you pay a flat monthly software fee. You build a standalone website for your course.
| Platform Model | Best Suited For | Major Weaknesses |
|---|---|---|
| Marketplace (Udemy) | Beginners with zero audience, zero marketing budget, and zero email list. | You do not own the student email addresses. The platform controls promotions and discounts and keeps a large share of each sale. |
| Owned LMS (Teachable) | Creators with an existing following, an email list, or a budget for paid advertising. | You must generate 100% of your own traffic. If your marketing fails, you will make exactly zero sales. |
The most strategic approach for serious business owners is the Owned LMS. You dictate the price. If you charge 500 dollars, you keep the 500 dollars minus payment processing and any platform transaction fees. You capture the student's email, allowing you to sell them higher-tier consulting or future courses.
The 14-day launch strategy to generate immediate revenue
Having an excellent course on an Owned LMS means nothing if nobody knows it exists. You cannot simply publish the page, announce it once on social media, and hope for the best. You need a structured launch event to create urgency and psychological momentum.
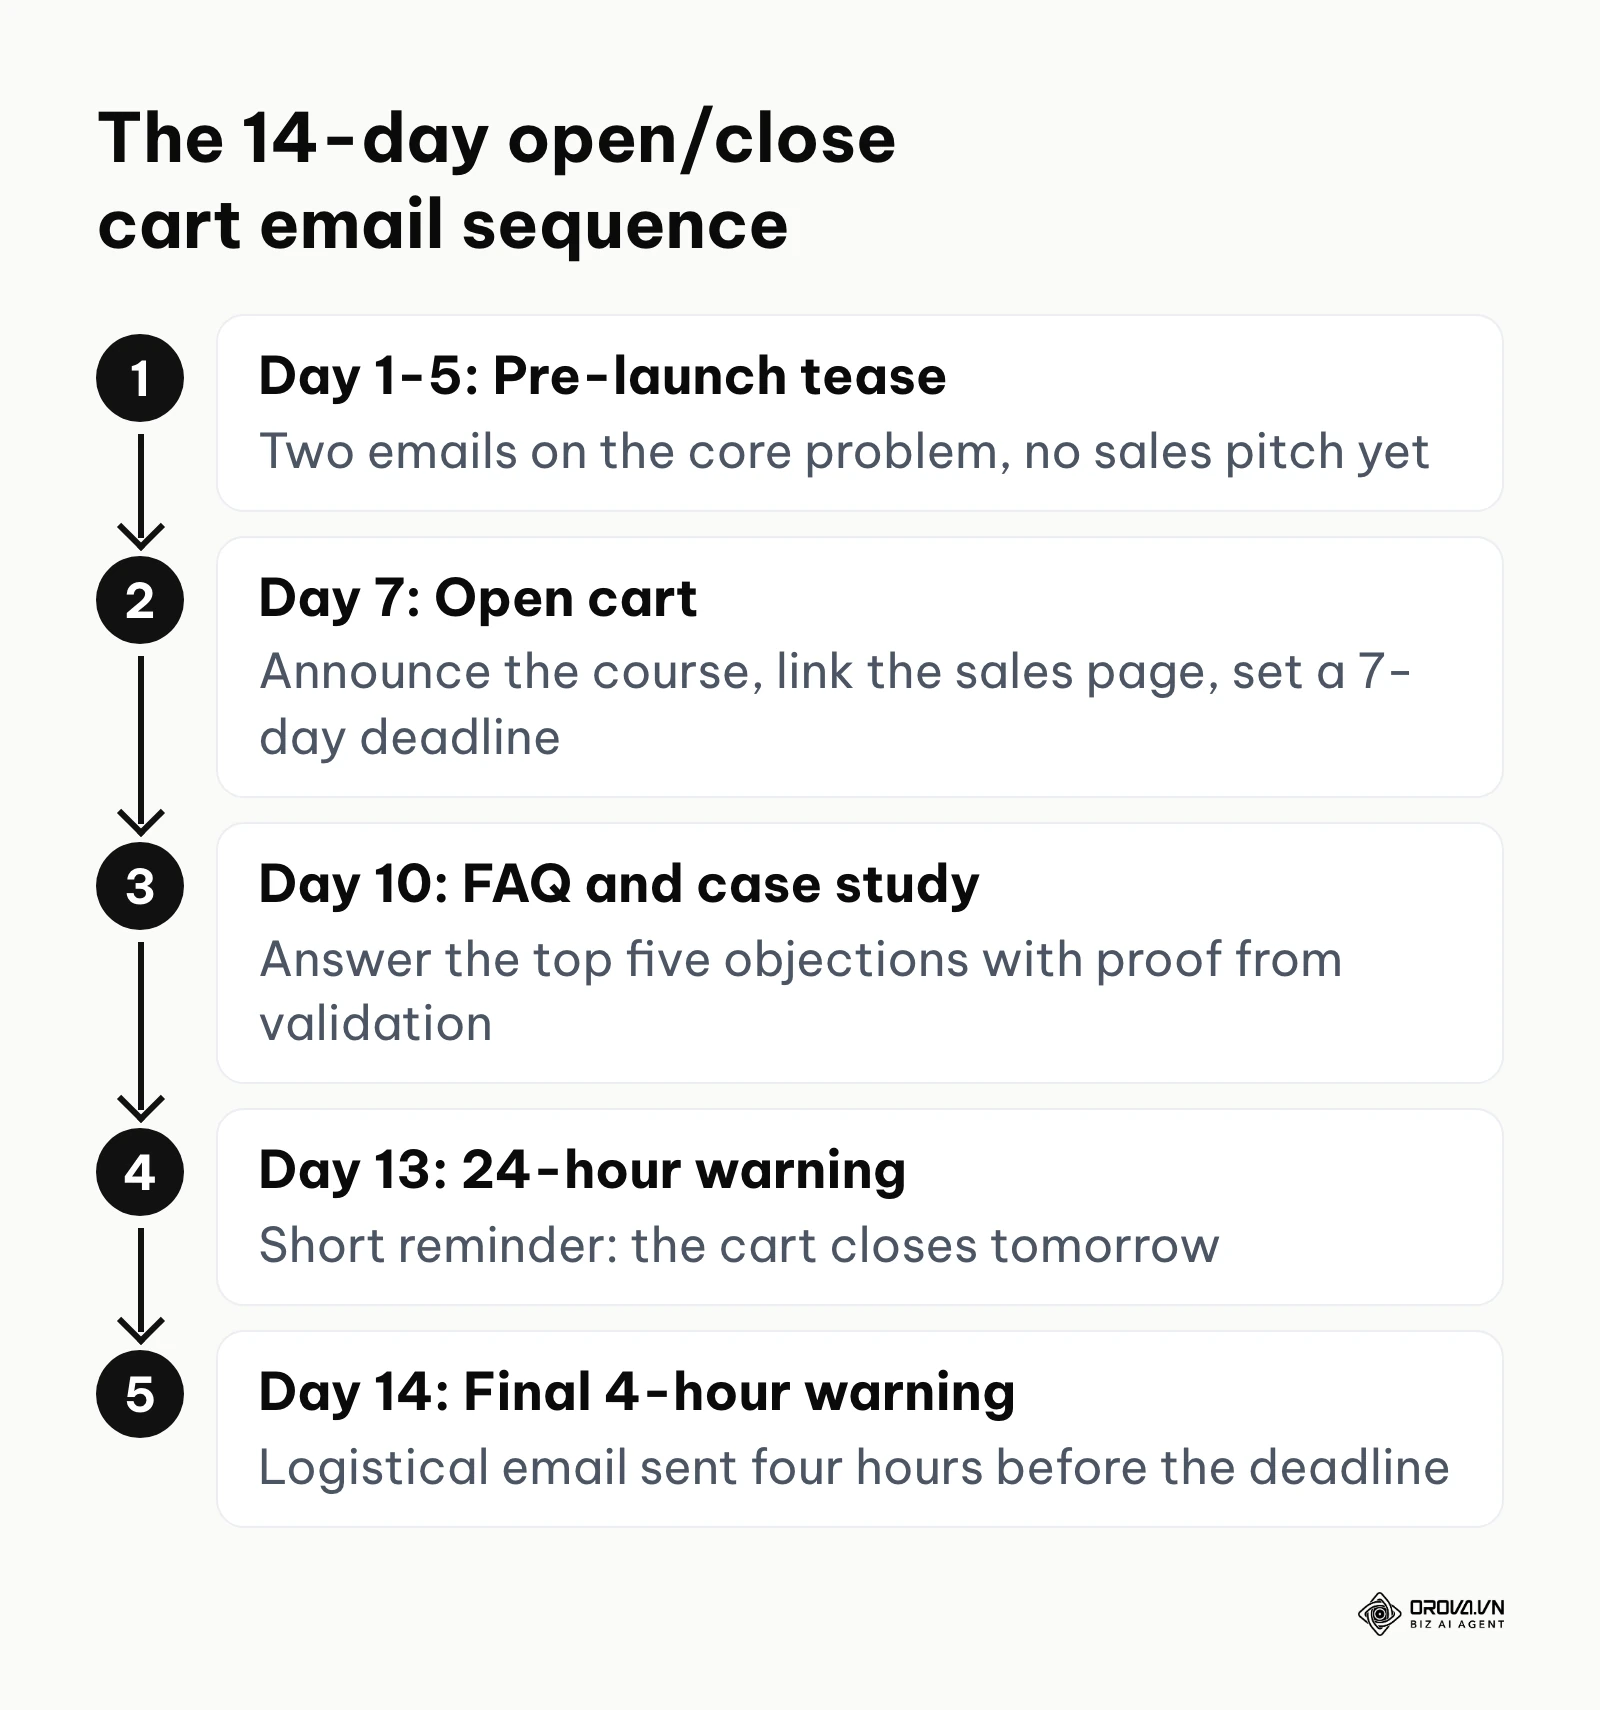
The most effective framework for beginners is the 14-day open/close cart sequence. This strategy requires you to have an email list (even a small one of 100 people is enough) and involves sending a specific sequence of emails.
Day 1-5: The pre-launch tease
Do not mention a course is for sale yet. Send two emails discussing the core problem your course solves. Share a personal story of how you struggled with this problem and the epiphany that helped you solve it. Your goal is to make the reader say, "This person understands exactly what I am going through."
Day 7: The open cart email
Announce the course. Explain exactly what it is, who it is for, and the transformation it delivers. Provide the link to your sales page. Crucially, state that enrollment will strictly close in seven days. This deadline creates the necessary urgency to force a buying decision. If you are running multiple traffic sources (like email and LinkedIn), be sure to tag your links with UTM codes so you can track exactly which email or post generated the sale.
Day 10: The FAQ and case study email
People are interested but have objections. "Will this work for my specific situation?" "Do I have enough time?" Write an email explicitly answering the top five objections you anticipate. Include a screenshot or quote from someone who tested your validation phase, proving the method works.
Day 13: The 24-hour warning
Remind your audience that the cart closes tomorrow. Keep this email short and direct. Restate the core benefit and provide the link.
Day 14: The final 4-hour warning
Send this email four hours before the deadline. This is purely logistical. "The doors close at midnight. If you want in, click here. If not, no problem, but the price will double when it reopens next year." A large share of launch sales often arrives in these final hours because people tend to decide at the deadline.
Illustrative example:
- Context: David, a software engineer with an email list of 800 subscribers, prepared to launch a 150-dollar course on Python automation for data entry.
- Steps: He wrote a structured email sequence over two weeks. The early emails shared free code snippets for common data tasks. The Day 7 email opened the cart. He planned to send a final email on Day 14 announcing the cart closing.
- Stumble: By the morning of Day 13, he had only secured three sales. He analyzed his emails and realized they were overly technical, focusing on the Python libraries rather than the time saved, and the urgency was too subtle.
- Result: For the final "cart close" email on Day 14, he drastically changed the copy. He added a clear bulleted list showing how the scripts save exactly 10 hours a week, and explicitly stated the cart closed permanently at midnight. That single, heavily focused email brought in 18 additional sales in the final six hours before the cutoff.
Ready to deliver your course without stitching tools together? Orova Training lets you assign courses to people or groups, track each learner's progress, stop learners from skipping or downloading videos, and automatically award certificates with a public verification code and PDF download. It is free until July 7, 2027, and you can export courses as SCORM 1.2 to Moodle or Canvas.
Measuring success: Metrics beyond the initial sale
Many creators stop caring the moment the credit card clears. This is a critical error. To build a sustainable education business, you must monitor how students interact with your content. If you are running ads to your sales page, you will need to establish clear marketing dashboard KPIs to track acquisition costs. However, once they are inside the course, different metrics apply.
| Metric | Meaning | Warning threshold (rule of thumb) |
|---|---|---|
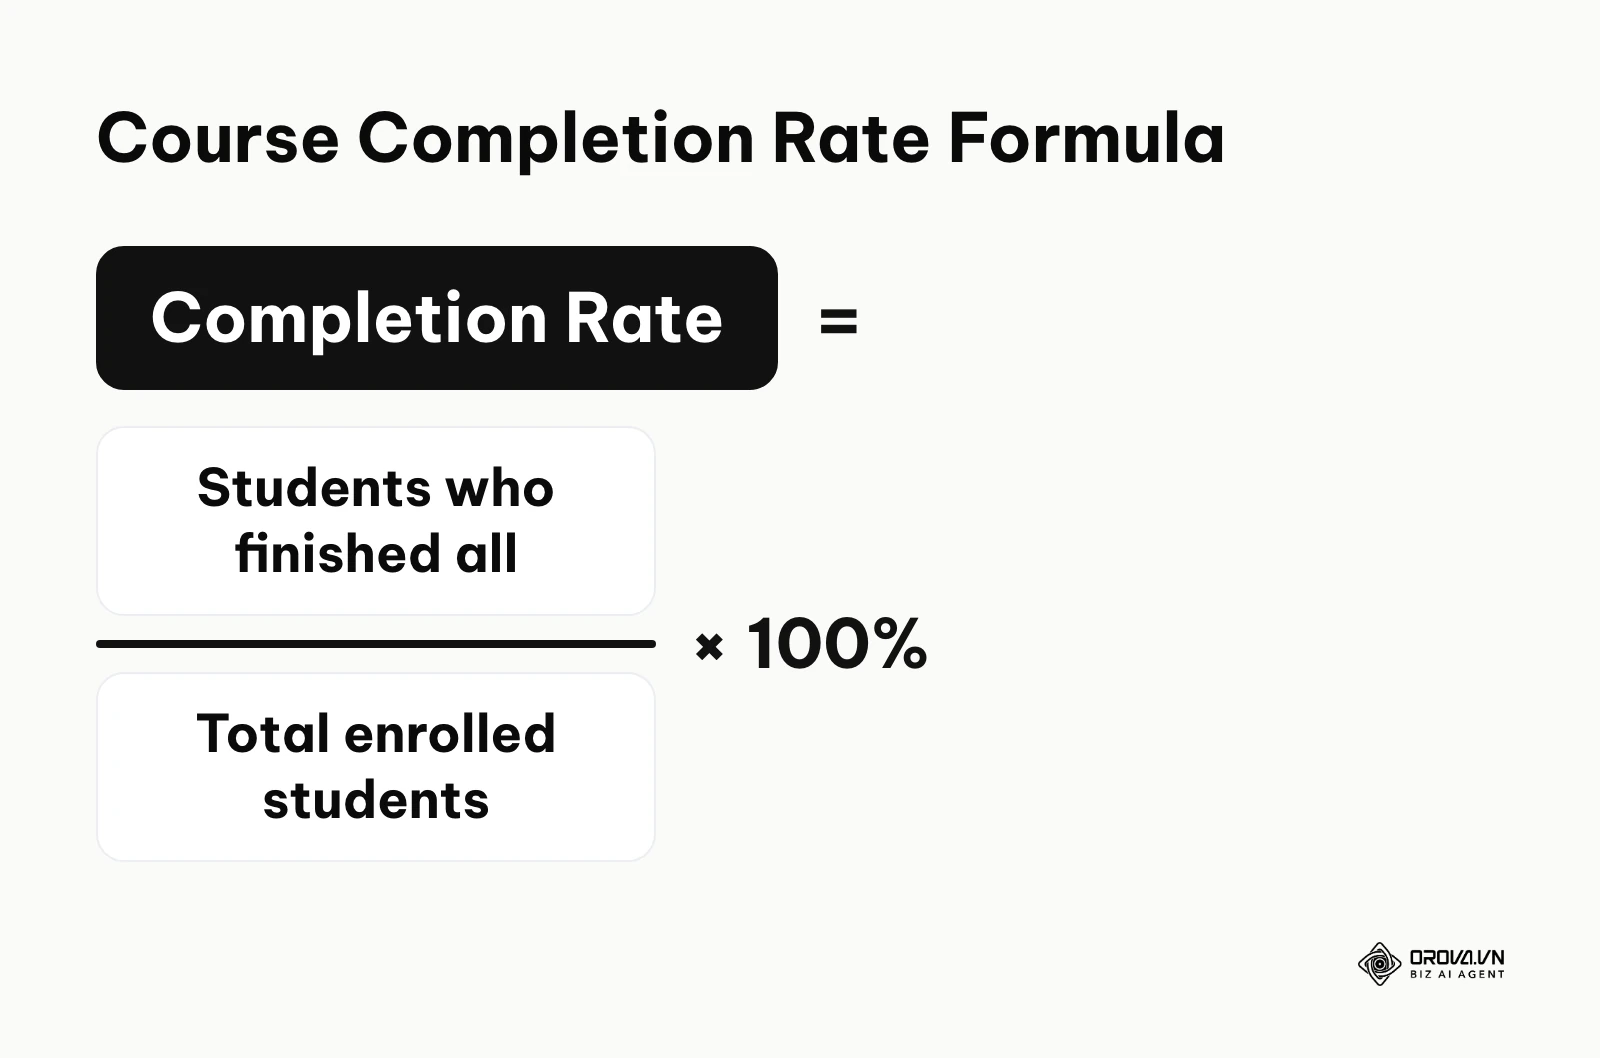
| Completion Rate | The percentage of enrolled students who finish 100% of the lessons. | Below 20% indicates your course is too long, boring, or difficult. |
| Refund Rate | The percentage of buyers who request their money back within the guarantee period. | Above 10% indicates a severe mismatch between your marketing claims and the actual product. |
| Drop-off Point | The specific video where the majority of students stop logging in. | If 50% of students quit at Module 3, that module is fundamentally broken and must be rewritten. |
Focus obsessively on the completion rate. A student who finishes the course is highly likely to leave a positive review, recommend it to a colleague, and buy your next, more expensive product. A student who quits at module two becomes a silent detractor.
Common mistakes when building an online course
Even with a solid framework, creators often fall into predictable traps. Recognizing these early will save you significant time and frustration.
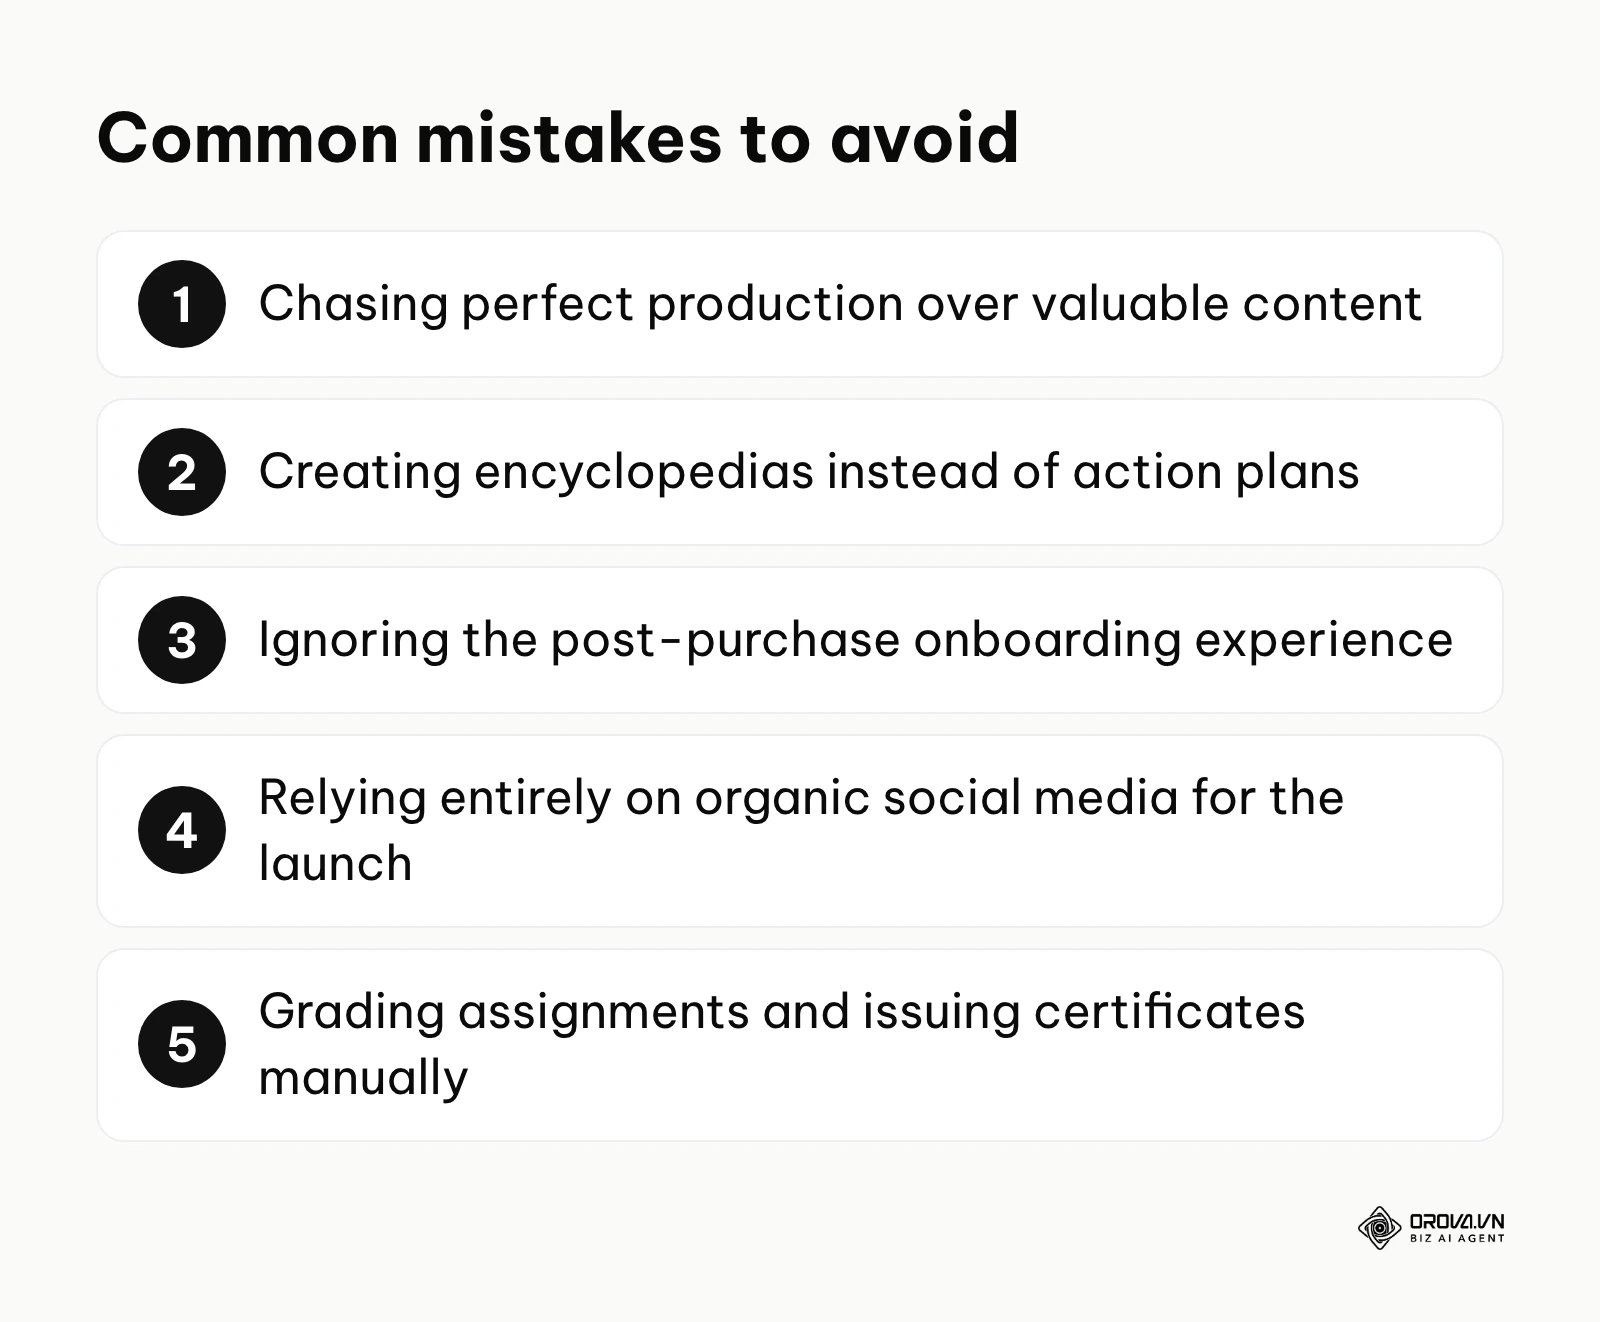
- Chasing perfect production over valuable content. Many creators delay their launch by months trying to color-grade their footage perfectly. Students will forgive basic editing if the information immediately solves their problem. Consequence: You burn out before launching. Fix: Set a strict deadline and ship the course when it is "good enough."
- Creating encyclopedias instead of action plans. Beginners try to teach everything they know about a topic. This overwhelms the student. Consequence: The student suffers cognitive overload and abandons the course. Fix: Ruthlessly cut any lesson that does not directly contribute to the promised transformation.
- Ignoring the post-purchase onboarding experience. The moment after a user pays is when they experience the most buyer's remorse. Consequence: Immediate refund requests. Fix: Send an automated welcome email instantly, explicitly telling them what to click first and what to expect in the next 24 hours.
- Relying entirely on organic social media for the launch. Posting "my course is live" on Instagram will reach only a fraction of your followers because of how feeds rank posts. Consequence: Zero sales despite having followers. Fix: Build an email list. You own the distribution, and email often converts better than social posts.
- Grading assignments and issuing certificates manually. As your student base grows, administrative tasks will consume your life. Consequence: You become a bottleneck, delaying feedback and frustrating students. Fix: Automate the backend.
Course creation trends in the next few years: My perspective
AI will dynamically personalize the learning path As of 2026, we are already seeing platforms suggest different modules based on a user's quiz scores. I think static, one-size-fits-all courses will gradually lose ground. AI will increasingly analyze a student's real-time pacing and errors, automatically generating bespoke remedial lessons or skipping foundational videos if the student proves competency. You should prepare by structuring your knowledge into modular, heavily tagged micro-lessons rather than massive, unchangeable video blocks.
Micro-credentials will replace generalized certificates Currently, most courses issue a generic "Certificate of Completion" that holds little weight with employers. I believe the industry will keep shifting toward skill-specific micro-credentials. Instead of a certificate for "Digital Marketing," students will earn verified badges for highly specific tasks like "Advanced GA4 Implementation." You should prepare by breaking your large flagship courses into smaller, highly specialized certifications that solve one granular problem perfectly.
Interactive role-play via voice AI will become standard Today, role-playing scenarios (like sales training or customer service de-escalation) require live coaching calls, which are unscalable. I expect voice-native AI models to become practical sparring partners. Students will verbally negotiate with an AI persona, receiving immediate feedback on their tone and phrasing. You should prepare by scripting complex, branching scenarios and objections within your expertise, ready to be fed into these upcoming voice models.
Frequently asked questions about online courses
Do I need to be a certified expert to create a course?
No. You do not need formal university degrees unless you are teaching in highly regulated fields like medicine or law. In most industries, students care about your results, not your credentials. If you have achieved a specific outcome (e.g., building a steady roster of freelance writing clients), you are qualified to teach the exact steps you took to achieve it.
How much does it really cost to host a course?
If you use a marketplace, hosting is technically free, but you pay with your revenue share. If you use a dedicated software platform, expect a recurring monthly subscription, so compare plans before you commit. Do not try to string together free WordPress plugins to save money; the technical headaches and broken payment gateways will cost you far more in lost sales.
How can I use AI to speed up the process without sounding like a robot?
The key is to use AI for structure, not for the final voice. Use AI to generate the curriculum outline, draft multiple-choice quiz questions (an online quiz maker helps you turn them into graded tests), and suggest video titles. However, when it comes to the actual script, you must inject your own personal anecdotes, industry-specific jargon, and unique opinions. AI provides the skeleton; your experience provides the muscle.
How do I protect my videos from piracy?
Digital Rights Management (DRM) encrypts your video so it cannot be downloaded via browser extensions, and some premium LMS platforms include it. However, you must accept that no system can completely prevent screen recording. The best defense against piracy is creating a dynamic course environment—such as requiring login for interactive AI quizzes, providing community access, and issuing unique, verifiable certificates—that a raw, pirated video file cannot replicate.
Where should you start?
If you have an idea but are overwhelmed by the technical requirements: Open a blank document and write down the specific transformation your course will provide. Define where the student is now, and exactly where they will be after applying your knowledge.
If you have an outline but are terrified of recording on camera: Record a strict three-minute video using only your smartphone and natural window light. Teach one single concept. Do not edit it. Simply watch it back to prove to yourself that the technical barrier is lower than you think.
If you have recorded your videos but have no audience to sell to: Stop editing and immediately write a three-email sequence that defines the core problem your course solves. Send it to your existing professional contacts or post it as a series on your most active professional networking platform to start generating interest before you worry about launch mechanics.
About the author

Builder of Orova
Nguyễn Đỗ Trọng Ân has 8 years of experience in marketing, including 6 years managing market development across Asia. He builds Orova, a Biz AI Agent that never sleeps: it plans, runs and optimizes work for businesses.
Run your business with AI Agents
Orova is the always-on Biz AI Agent — it plans, runs, and optimizes the work for you.
Save time, unlock productivity.